Is your mower’s grass catcher damaged or worn out? Replacing it might seem tricky, but it doesn’t have to be.
Knowing how to replace your mower grass catcher can save you time, frustration, and money. In this guide, you’ll find simple, clear steps that anyone can follow. By the end, you’ll have your mower ready to keep your lawn clean and tidy again.
Ready to get started? Let’s dive in!

Credit: www.amazon.ca
Signs You Need A New Grass Catcher
Visible damagelike tears or holes means the grass catcher may not work well. Check for broken parts or loose seams. These issues cause grass clippings to escape.
When grass clippings scatter instead of collecting, the catcher is less effective. Poor collection can slow mowing and leave a mess behind. This often signals the need for replacement.
Sometimes, the grass catcher no longer fits the mower properly. Changes in mower models or worn connectors cause compatibility issues. This leads to poor attachment and reduced performance.
Choosing The Right Replacement Catcher
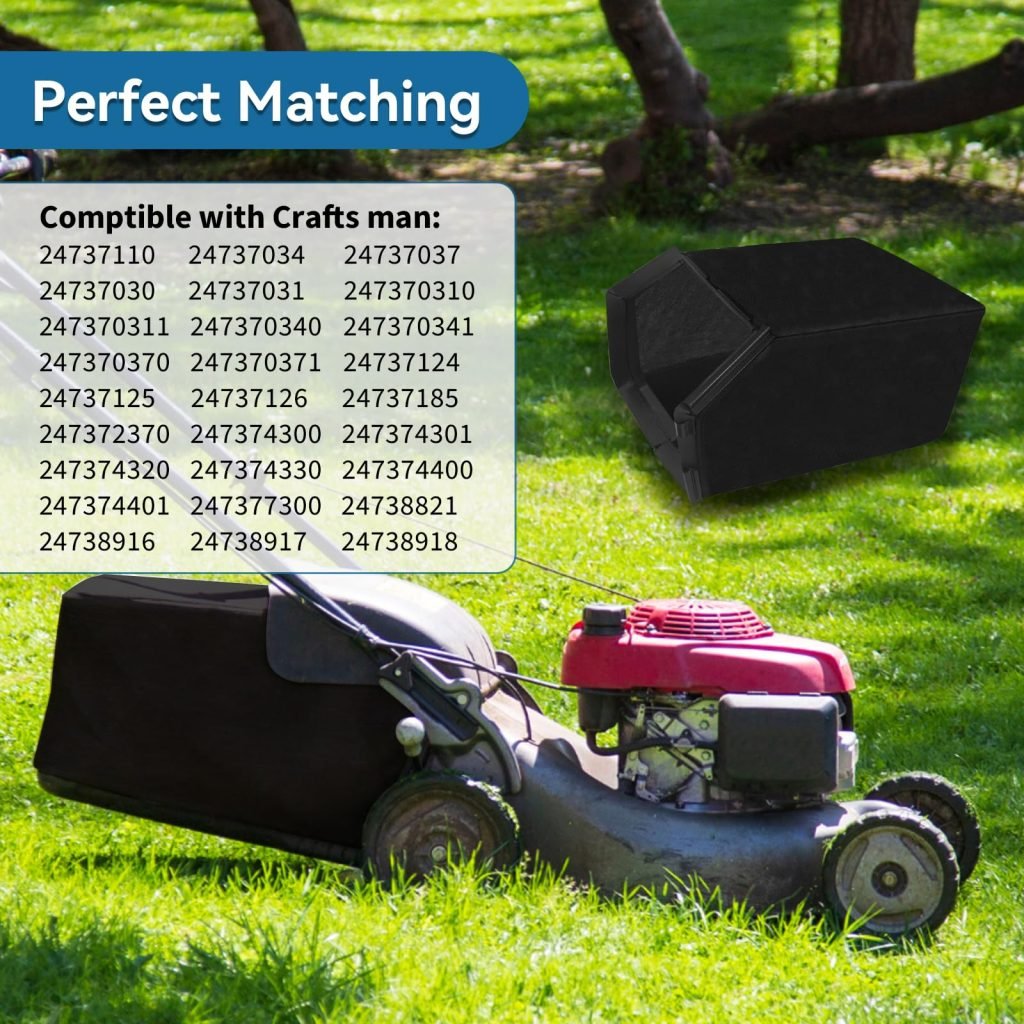
Choosing the right replacement catcher helps keep your mower working well. Matching your mower modelis key. Each catcher fits specific brands and shapes. Check your mower’s make and model before buying.
Material and durabilityaffect how long the catcher lasts. Common materials include cloth, plastic, and mesh. Cloth is light but may tear easily. Plastic is tough and holds shape better. Mesh allows air flow, which helps grass dry faster.
Size and capacitymatter too. A bigger catcher holds more grass, reducing emptying times. But it might be heavier and harder to handle. Smaller catchers are easier to carry but need more frequent emptying.
| Factor | Details |
|---|---|
| Matching Mower Models | Fits specific brands and shapes |
| Material and Durability | Cloth, plastic, or mesh with different strengths |
| Size and Capacity | Bigger holds more grass but can be heavy |
Preparing For Replacement
Check the mower model and find the correct replacement catcher. Gather tools and clear the area for easy access. Ensure the mower is off and cool before starting the replacement.
Gathering Necessary Tools
A few tools will help you. Gather a screwdriver, pliers, and gloves. These are handy for the task. Keep them close by.Safety Precautions
Wear gloves to protect your hands. Make sure the mower is off. Check if the blades are still. Safety comes first!Clearing The Mower Area
Move the mower to a clear space. Remove any obstacles around it. This makes work easy and safe. Keep kids and pets away too. `
Credit: www.repairclinic.com
Removing The Old Grass Catcher
Begin by locating the grass catcher on the back of your mower. It usually hooks or clips in place. Gently lift or unclip it to detach from the mower frame. Avoid using force to prevent damage.
Once removed, check the attachment points for dirt, grass clippings, or debris. These spots should be clean to fit the new catcher properly.
- Use a brush or cloth to clear away stuck grass.
- Wipe down any mud or dust.
- Ensure no parts are bent or broken.
Cleaning these points helps the new grass catcher attach firmly and work well. A clean mower means better grass collection and less mess.
Installing The New Grass Catcher
Place the new grass catcher near the mower’s rear. Align the opening of the catcher with the mower’s chute. Make sure the catcher fits snugly and straight. A loose catcher can cause grass to spill out while mowing.
- Slide the catcher hooks or clips into the mower’s slots.
- Press firmly until you hear a click or feel it lock.
- Check that the catcher stays in place and does not wobble.
Push the mower forward a little to test the catcher’s hold. Lift the catcher slightly to see if it stays attached. Start the mower and check for grass flow into the catcher. If grass escapes, adjust the catcher’s position and secure again.

Credit: www.amazon.ca
Maintaining Your Grass Catcher
Keep your grass catcher clean to avoid clogs and odors. Empty it after every use to stop grass from rotting inside. Use a brush or cloth to remove stuck grass and dirt. Washing with water helps but let it dry fully before storing.
Store the catcher in a dry, shaded place. Avoid leaving it under the sun for long periods as it can crack or fade. Hanging it up can keep its shape and save space.
| Problem | Cause | Fix |
|---|---|---|
| Grass catcher tears | Sharp objects or old fabric | Patch small holes or replace the catcher |
| Grass clogging | Wet or long grass | Empty often, clean after use, avoid wet grass |
| Unpleasant smell | Wet grass left inside | Clean thoroughly and dry before storing |
Frequently Asked Questions
How Do I Remove The Old Mower Grass Catcher?
To remove the old grass catcher, first turn off the mower. Detach the catcher by lifting it from the hooks or clips. Make sure to wear gloves to avoid dirt or sharp edges. Set the old catcher aside for disposal or cleaning.
What Tools Are Needed To Replace A Grass Catcher?
Usually, no tools are required to replace a mower grass catcher. Most catchers attach with hooks or clips. However, keep a screwdriver handy if your model uses screws. Always check your mower’s manual for specific instructions before starting.
How To Install A New Grass Catcher On A Mower?
Align the new grass catcher with the mower’s designated hooks or slots. Secure it firmly by pressing or clipping it in place. Ensure it fits snugly to prevent grass clippings from escaping while mowing. Double-check stability before use.
Can I Use Any Grass Catcher On My Mower?
No, grass catchers are model-specific. Check your mower’s brand and model number. Purchase a catcher compatible with your mower for proper fit and performance. Using the wrong catcher may cause poor fit or damage.
Conclusion
Replacing a mower grass catcher is simple and quick. Follow the steps carefully for the best fit. Check your mower model before buying a new catcher. Make sure all parts are clean and ready. Attach the catcher securely to avoid grass spills.
Regularly empty the catcher to keep mowing smooth. A well-maintained catcher helps your lawn look neat. Now, enjoy easier lawn care with your new catcher.


