Is your mower grass catcher torn, clogged, or not working the way it should? Fixing it yourself can save you time, money, and frustration.
You don’t need to be a pro or spend hours figuring it out. In this guide, you’ll discover simple, step-by-step ways to repair your grass catcher so it works like new again. Keep reading, and you’ll have your mower ready to tackle your lawn in no time.

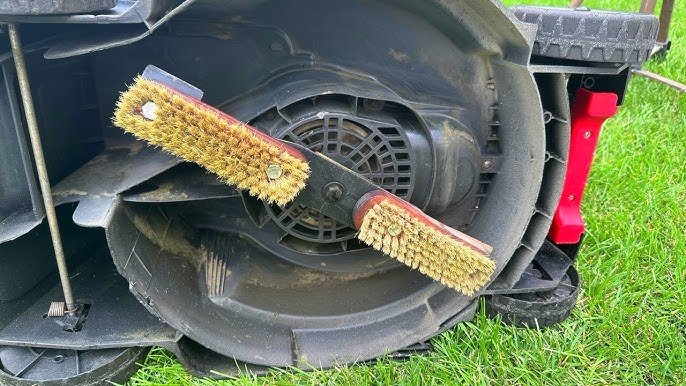
Credit: www.repairclinic.com
Common Issues With Grass Catchers
Tears and holes in grass catchers cause grass to escape. Small tears can be fixed with strong tape or patch kits. Larger holes may need sewing or replacement parts. Regular checks help catch damage early.
Loose attachments make the catcher unstable. Check clips, hooks, and straps often. Tighten or replace parts to keep the catcher secure during use.
Clogged or blocked bags reduce mower efficiency. Grass and debris can block airflow. Empty bags regularly and clean the mesh or fabric. Use water and mild soap if needed, then dry fully before use.
Tools And Materials Needed
Patch kitsand repair tapehelp fix tears and holes quickly. They stick well to fabric and hold strong. Use patches that match the catcher material for best results.
Sewing suppliesinclude strong thread, needles, and scissors. Heavy-duty thread works best for mending tough spots. Scissors cut loose threads and fabric edges cleanly.
- Cleaning toolslike brushes and cloths remove dirt and grass.
- Clean fabric helps patches and tape stick better.
- Air dry the catcher before repairing to avoid moisture issues.
Fixing Tears And Holes
Small tears and holes in a mower grass catcher can be fixed quickly with strong tape or patch material. Clean the area first, then apply the patch firmly to stop grass from escaping. This simple repair helps keep your lawn tidy and your catcher working well.
Patch kits can fix tears in grass catchers. These kits are easy to use. Clean the area around the tear first. Then apply the patch. The patch sticks to the fabric. Press firmly for a strong hold. This method works well for big holes. Cut a piece of fabric slightly bigger than the tear. Use strong glue to attach it. Make sure it covers the hole well. Let it dry completely. This is a simple way to repair small rips. Use a needle and thread to sew rips. Choose a thread color that matches. Stitch along the tear carefully. Make sure the stitches are tight. This method is best for tiny holes. `
Credit: www.youtube.com
Securing Loose Attachments
Check all fasteners and clipsholding the grass catcher. Tighten any loose screws or bolts to ensure a snug fit. Missing or broken clips can cause the catcher to fall off while mowing.
Replace worn parts like torn nets or broken hooks. Old parts can weaken and fail during use. Use parts recommended by the mower’s brand for best fit and durability.
Reinforce connection points with extra clips or small metal brackets. This adds strength where the catcher attaches to the mower. Use simple tools like pliers and screwdrivers to secure these reinforcements.
Clearing Blockages Effectively
Remove stuck grass and leaves from the catcher carefully. Use a stick or brush to clear tight spots. Avoid using sharp tools that can damage the catcher.
Check the airflow paths inside the mower. Clean them with a soft brush or cloth. Make sure no dirt or grass blocks the air. Good airflow helps the catcher work better.
- Clean the catcher after every use.
- Store the mower in a dry place.
- Inspect parts regularly for wear or damage.
- Replace torn or broken catcher bags quickly.
- Keep blades sharp to reduce grass buildup.
When To Replace The Grass Catcher
Signs of irreparable damageinclude large tears, holes, and broken frames. If the catcher cannot hold grass properly, it may need replacement. Worn-out fabric or rusted parts also indicate it’s time for a new one.
Choosing the right replacement depends on mower brand and model. Match the catcher size and attachment style for a perfect fit. Check the material quality for durability and ease of cleaning.
| Disposal Option | Description | Notes |
|---|---|---|
| Recycling | Some parts can be recycled, like metal frames and plastic components. | Check local recycling rules before disposal. |
| Trash Disposal | Non-recyclable parts must be thrown in regular trash. | Use a heavy-duty bag to avoid spills. |
| Donation | Donate usable parts to community groups or repair shops. | Helps reduce waste and supports others. |

Credit: www.mytractorforum.com
Frequently Asked Questions
How Do I Fix Tears In My Mower Grass Catcher?
To fix tears, use heavy-duty tape or patch kits designed for fabric repair. Clean the area first. Apply the patch firmly. Let it dry completely before use. This prevents grass clippings from escaping and maintains catcher efficiency.
What Tools Are Needed To Repair A Grass Catcher?
You need heavy-duty tape, scissors, a patch kit, and a cleaning cloth. Optional items include needle and thread for sewing. These tools help patch holes and tears quickly, ensuring your grass catcher works well again.
How Can I Prevent Future Damage To My Grass Catcher?
Empty the catcher regularly to avoid overloading. Avoid sharp objects and rough terrain while mowing. Store it in a dry, shaded place. Regular maintenance extends its lifespan and keeps it damage-free.
When Should I Replace A Damaged Grass Catcher?
Replace it if tears are large or patches fail repeatedly. If the frame is bent or broken, replacement is best. A new catcher ensures efficient grass collection and avoids mower damage.
Conclusion
Repairing your mower grass catcher keeps your lawn neat and tidy. Small fixes save money and extend your catcher’s life. Check for tears, clean regularly, and tighten loose parts. These simple steps make your mower work better. Stay patient and follow the repair tips carefully.
A working grass catcher means less mess and more time enjoying your yard. Keep your mower ready for every cut. Simple care goes a long way.


