If you want to get the most out of your push mower, fitting a mulching kit is a smart move. Mulching helps your lawn by cutting grass into tiny pieces that nourish the soil.
But how do you install the kit quickly and correctly? This guide will walk you through every step, making it easy for you to upgrade your mower and keep your lawn looking its best. Ready to transform your mowing routine?
Let’s dive in!
Mulching Kit Basics
A mulching kitis a tool for push mowers. It helps cut grass into very small pieces. These pieces fall back on the lawn. This way, the grass gets natural food and stays healthy.
Benefits of mulching:
- Feeds the lawnnaturally with tiny grass bits.
- Reduces wastebecause grass clippings don’t need to be collected.
- Keeps moisturein the soil by covering it with cut grass.
- Improves lawn healthwithout using extra fertilizers.
Preparing Your Push Mower
Safetyis very important before working on your mower. Always disconnect the spark plugto stop the engine. Wear glovesand protective glassesto keep safe from sharp parts. Make sure the mower is on a flat surfaceand won’t move.
Gather the necessary toolsto fit the mulching kit. You will need:
- A wrenchor socket setto remove and attach parts
- A screwdriverfor screws
- Work glovesto protect your hands
- A clean clothfor wiping dirt and grass
Clean the mower deck well. Remove all grass clippingsand debris. This helps the mulching kit fit properly and work better. Use a brush or cloth to wipe inside the deck. Make sure the deck is drybefore installing the kit.
Removing The Existing Blade
Ensure your mower is turned off. Wear thick gloves for safety. Use a wrench to remove the bolt. Hold the blade firmly. Keep fingers away from sharp edges. Mark the blade’s direction before removal. This helps during reinstallation.
Keep the blade in a safe place. Never leave it on the ground. Store it on a shelf, out of reach. Clean the blade with a damp cloth. Check for any damage or rust. Replace if necessary. Handle with care to avoid cuts.

Credit: www.youtube.com
Installing The Mulching Blade
Place the mulching blade on the mower’s spindle carefully. Make sure the blade’s holes match the spindle’s bolts exactly. The blade must fit snugly to work well.
Hold the blade steady and align it flat against the mower deck. Check that the sharp edges point in the correct direction for cutting grass.
- Use the correct bolt or nut to secure the blade.
- Tighten the bolt firmly using a wrench or socket tool.
- Do not over-tighten; it may damage the blade or mower.
After securing, spin the blade by hand to check for free movement. The blade should not wobble or touch the mower deck.
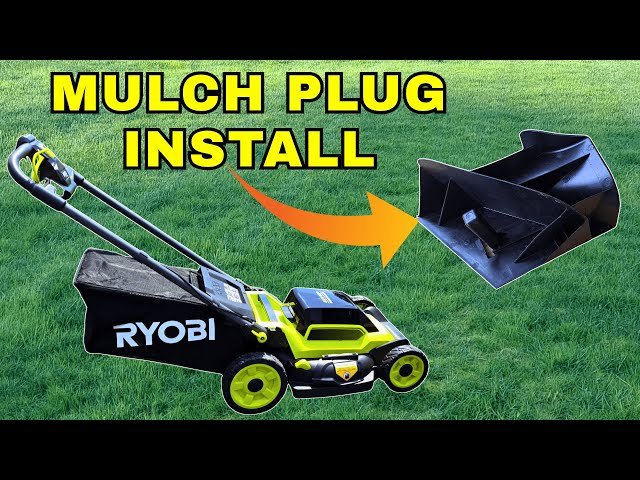
Attaching The Mulching Plug
The discharge openingis where grass clippings exit the mower. It is usually on the side or back of the mower deck. This opening allows the grass to leave the mower while cutting. To fit the mulching plug, find this spot first. The plug blocks the opening to keep clippings inside the mower.
Fitting the mulching plugis simple. Align the plug with the discharge opening. Push the plug firmly until it clicks or fits tight. This stops grass from leaving the mower. It helps cut grass into smaller pieces for mulching. Make sure the plug is secure to avoid it falling out during use.

Credit: www.lawnstarter.com
Final Checks And Testing
Check all bolts and screwsto ensure they are tight and secure. Loose parts can cause the kit to fall off or work poorly. Use a wrench or screwdriver to tighten them firmly but avoid over-tightening, which may damage the mower.
Before starting, clear the area of any objects that could get caught in the blades. Wear safety glasses and sturdy shoes for protection.
- Start the mower on a flat surface.
- Listen for unusual noises or vibrations.
- Check that the mulch kit holds grass clippings well.
- Make sure the mower cuts evenly without clogging.
- Stop the mower and recheck bolts if anything seems loose.
Test run the mower for a few minutes to confirm the mulching kit works smoothly. Adjust or tighten parts if needed before regular use.
Maintenance Tips For Mulching Kits
Clean the mulching kit after every use to prevent grass buildup. Use a brush or cloth to remove dirt and debris. Avoid water on metal parts to stop rust. Dry the parts completely before storing.
Sharpen the blades regularly for better cutting performance. Dull blades tear grass instead of cutting it cleanly. Use a file or sharpening tool to keep edges sharp. Always wear gloves for safety.
Store the mulching kit in a dry place to protect it from moisture. Keep it away from direct sunlight to avoid damage. Cover it with a cloth or plastic sheet for extra protection.
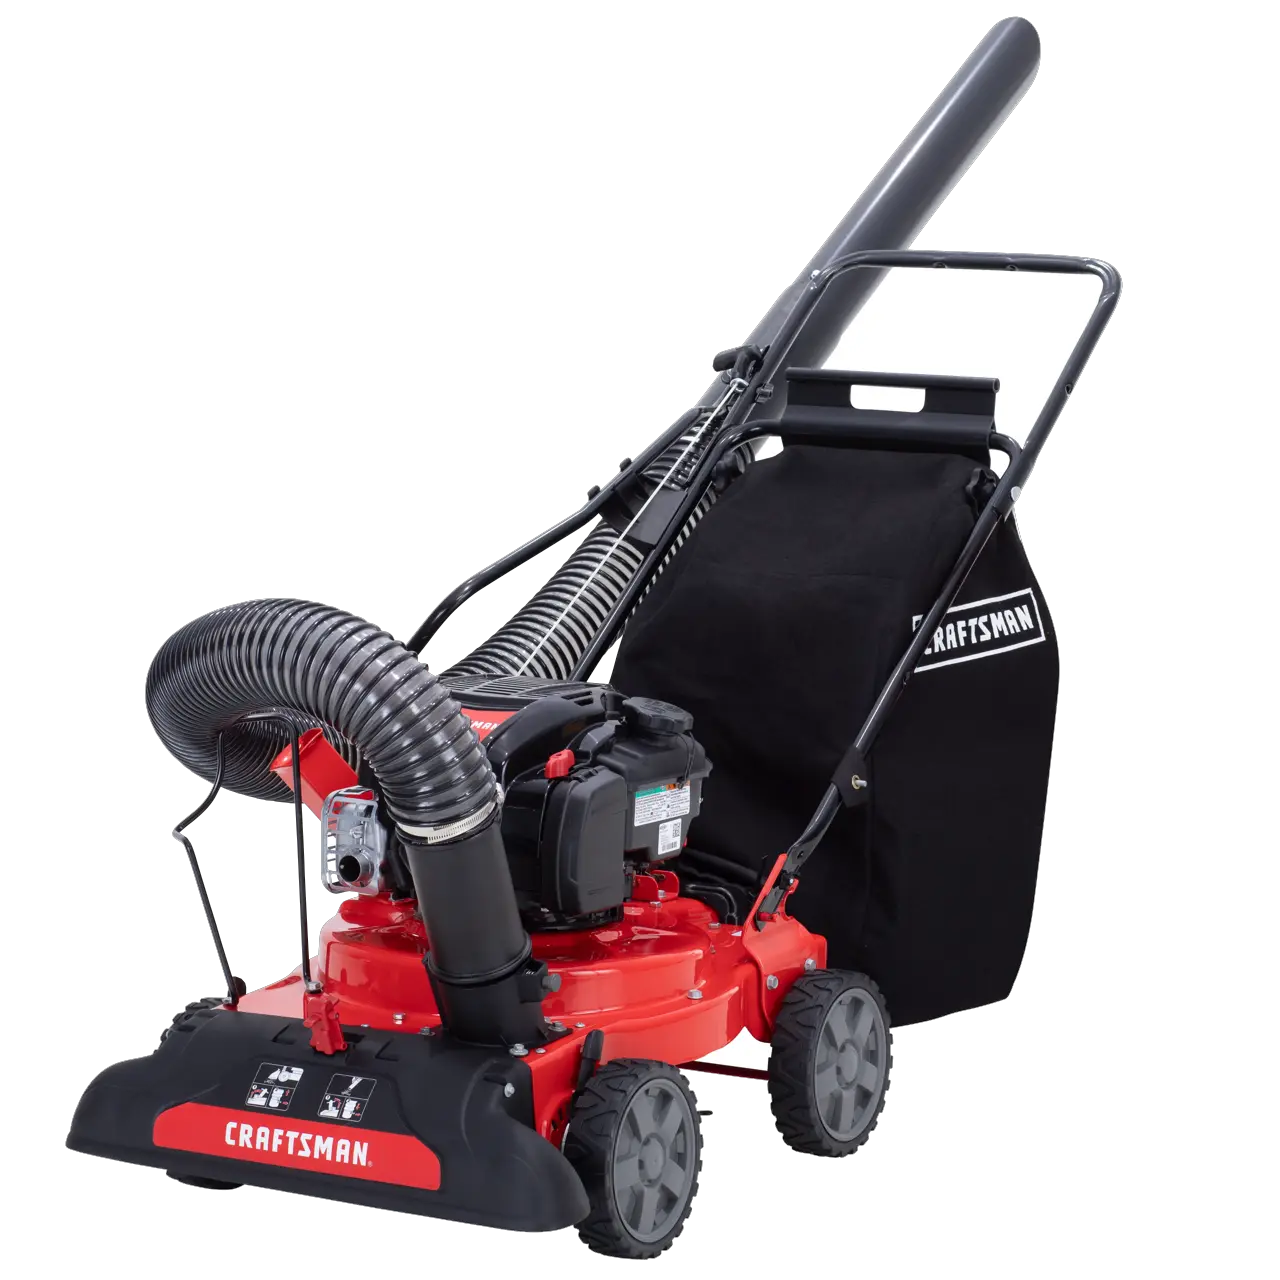
Credit: www.craftsman.com
Frequently Asked Questions
How Do I Install A Mulching Kit On A Push Mower?
First, disconnect the spark plug for safety. Remove the mower blade and replace it with the mulching blade. Attach the mulching plug to cover the discharge chute. Secure all parts tightly before starting the mower.
What Tools Are Needed To Fit A Mulching Kit?
You typically need a wrench or socket set to remove and install the blade. A screwdriver may be required to attach the mulching plug. Always check the mower’s manual for specific tool recommendations.
Can Any Push Mower Use A Mulching Kit?
Not all push mowers are compatible. Check your mower’s model and specifications. The manufacturer usually lists compatible mulching kits. Using an incompatible kit may reduce mower efficiency or cause damage.
How Does A Mulching Kit Improve Lawn Mowing?
A mulching kit finely chops grass clippings. These clippings return nutrients to the soil naturally. It reduces the need for bagging and disposal. This promotes healthier, greener lawns and saves time.
Conclusion
Fitting a mulching kit on your push mower is simple and quick. Follow the steps carefully, and you will do it right. Mulching helps keep your lawn healthy and clean. It saves time and reduces waste. Use the right tools and parts for best results.
Regular checks keep your mower working well. Enjoy a neat lawn with less effort. Mulching makes mowing easier and better every time.


