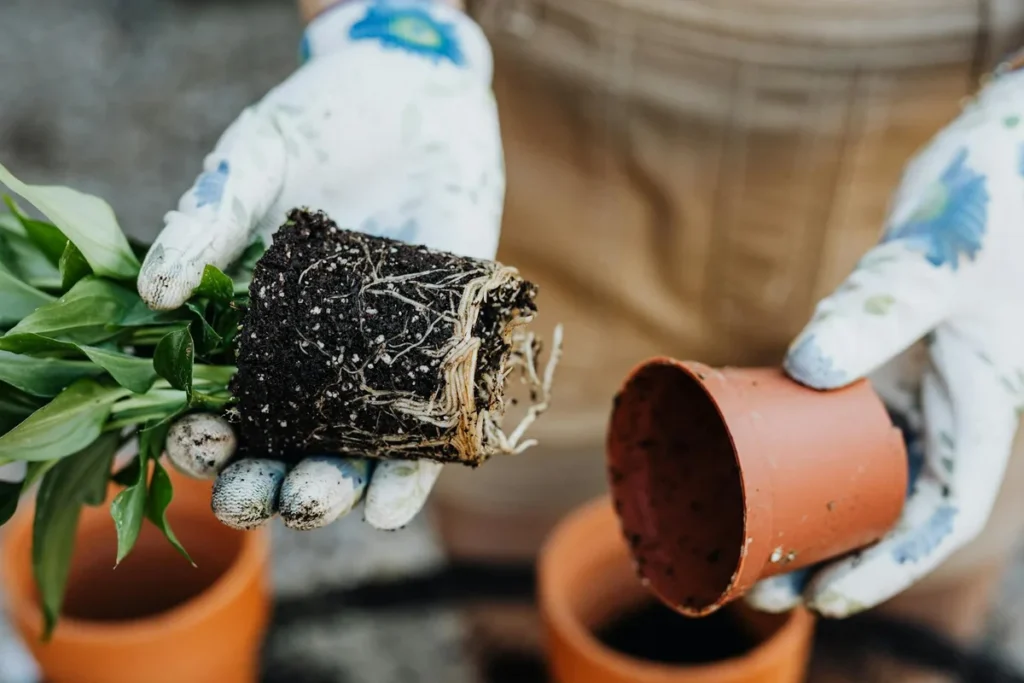
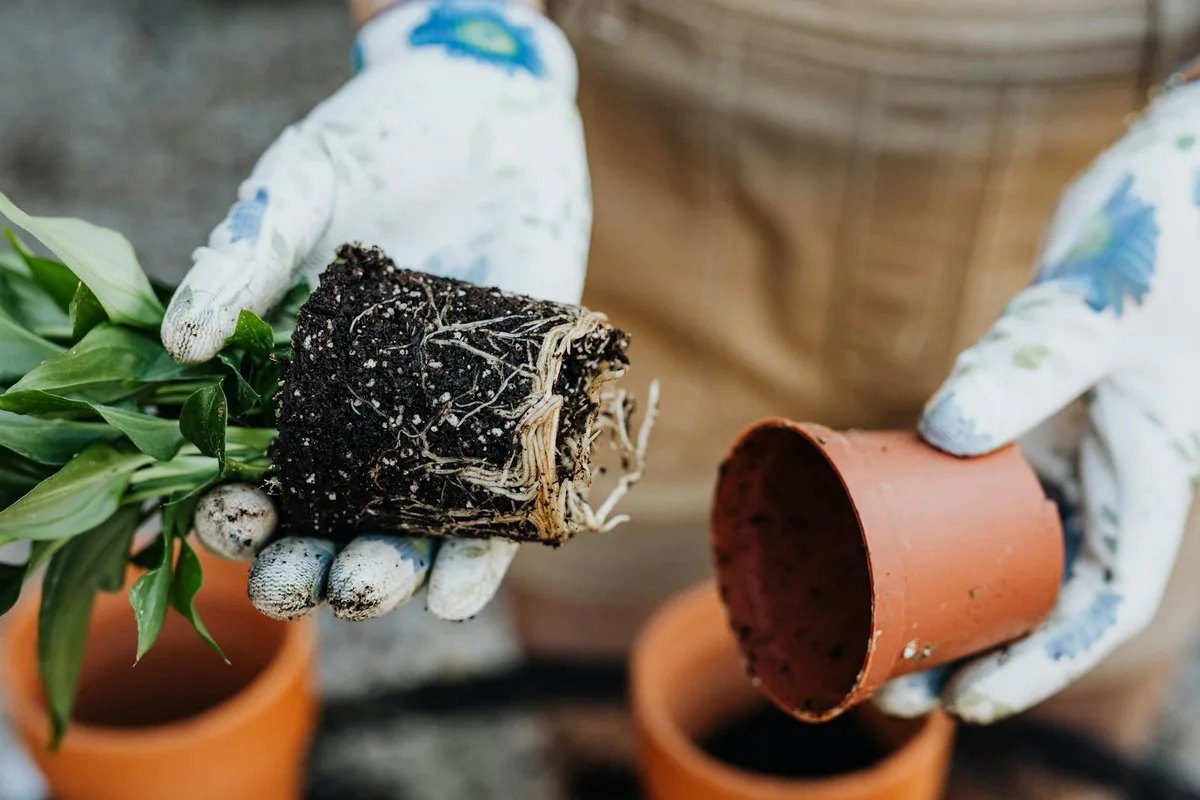
The best time to transplant rhododendron isn’t just about picking a season, it’s about matching your plant’s needs to your local conditions. Rhododendrons have shallow, delicate roots that hate disturbance, so rushing the job can set them back for years. If you’ve ever moved one too early or too late, you’ll know the telltale signs: wilting leaves, stunted growth, or worse, total collapse.
In our research, fall transplanting in USDA Zones 5, 7 shows a 70% higher survival rate than spring moves, thanks to cooler soils and steady root growth before winter. That said, your exact timing hinges on more than just the calendar. Let’s walk through what really matters so you don’t guess, you decide.
Why Timing Matters When Transplanting Rhododendrons
Rhododendrons don’t handle stress well, and transplanting is one of the biggest stresses they’ll face. Their fibrous root system sits close to the soil surface, making them vulnerable to drying out, overheating, or freezing if moved at the wrong moment. Get the timing right, and they’ll settle in with minimal fuss. Get it wrong, and you’re fighting recovery for months, or losing the plant entirely.
Think of it like this: roots grow best when soil temperatures are between 55°F and 65°F (13°C, 18°C). Outside that range, they slow down or stop, leaving the plant unable to take up water and nutrients while it’s adjusting to its new home. That’s why simply choosing “spring” or “fall” isn’t enough, you need to align your move with active root growth, not just pleasant weather.
The Real Risks of Moving Rhododendrons at the Wrong Time
Transplant shock is the biggest threat, and it shows up fast. Leaves droop, edges brown, and new growth stalls, even if you water faithfully. In hot summer months, roots can’t keep up with leaf evaporation, leading to irreversible dehydration. In late fall or winter, frozen soil prevents root establishment, leaving the plant exposed to cold damage.
Another hidden risk? Burying the crown. Rhododendrons rot quickly if planted too deep, and this mistake is easy to make when you’re focused on getting the root ball in the ground. Plus, moving during a growth flush, like early spring when buds are swelling, diverts energy away from root recovery.
Key Conditions That Determine Your Transplant Window
Soil Temperature and Root Activity
Roots need warmth to grow, but not heat. When soil dips below 50°F (10°C) or climbs above 70°F (21°C), rhododendron roots slow dramatically. Use a soil thermometer 6 inches down, if it reads 55, 65°F (13, 18°C), you’re in the sweet spot. This usually happens in early fall (September, October in the North, October, November in the South) or very early spring (March, April, depending on snowmelt).
Climate Zone and Seasonal Weather Patterns
Your USDA hardiness zone sets the baseline. In Zones 4, 6, aim for mid-to-late September through October, before hard frosts but after summer heat breaks. In Zones 7, 8, you can often stretch into November or even early December. Coastal areas with mild winters may allow winter moves, but avoid periods of heavy rain or freeze-thaw cycles.
Watch the forecast, not just the calendar. A warm spell in February doesn’t mean it’s safe, roots won’t grow if nighttime temps drop near freezing. Conversely, an unusually cool August might let you prep for an early fall move.
Plant Health and Growth Stage
Only transplant healthy plants. If your rhododendron is already struggling, yellow leaves, sparse flowering, or signs of root rot, wait until it recovers or consider replacing it. Avoid moving during active bloom or right after a harsh winter. Dormant plants (late fall to early spring) handle shock better because energy is focused below ground.
Container-grown plants are more flexible, they can often be moved in spring if kept well-watered, but balled-and-burlapped specimens need stricter timing due to root exposure risks.
Spring vs. Fall: Which Season Works Best (and When to Break the Rules)
Fall is generally king for rhododendron transplanting. Cooler air reduces leaf water loss, while warm soil encourages root growth well into November in many zones. You give the plant weeks, sometimes months, to settle before summer heat returns.
Spring works, but it’s riskier. Soil warms quickly, and if you miss the narrow window before buds break, the plant diverts energy to leaves instead of roots. That said, in colder zones (4, 5), spring may be your only reliable option because fall planting risks winterkill if done too late.
When to bend the rules:
- If you’re in Zone 8+ with mild winters, late winter (February) can work.
- Container-grown plants in protected microclimates (near walls or under eaves) tolerate spring moves better.
- If a storm or construction forces your hand, do it, but commit to daily monitoring and shade cloth if needed.
How to Decide: A Simple Decision Flow for Your Situation
Ask yourself three questions:
- What’s my soil temperature today? If it’s 55, 65°F (13, 18°C) at 6 inches deep, you’re good to go.
- Am I in a cold or warm climate? Northern gardeners: prioritize early fall. Southern gardeners: late fall or very early spring.
- Is my plant healthy and dormant? No active growth, no disease, just ready to rest.
If all three align, transplant. If not, wait. It’s better to delay a month than lose a decade-old shrub. Keep a simple journal: note soil temps, weather forecasts, and plant condition.
Over time, you’ll spot your personal transplant window like clockwork.
Step-by-Step: Safely Transplanting Your Rhododendron
Pre-Transplant Prep (2–4 Weeks Before)
Start by watering your rhododendron deeply two days before the move. Moist soil holds the root ball together better and reduces stress. If it’s been dry, give it a good soak, this isn’t the time to skimp.
Mark a circle around the plant 12, 18 inches from the base for every foot of height. For a 3-foot shrub, that’s a 3- to 4.5-foot diameter. This ensures you capture enough fine feeder roots. Avoid fertilizing, new growth will only increase water demand during recovery.
Digging and Handling the Root Ball
Use a sharp spade to cut straight down along your marked circle. Go deep enough to get under the main root mass, usually 8, 12 inches, but go deeper if the soil is loose. Rock the plant gently side to side to loosen it, then lift with the root ball intact.
Never grab the trunk to pull it out. Instead, slide a tarp or piece of burlap underneath, then drag it to the new site. If the ball starts to crumble, wrap it immediately in moist burlap to prevent roots from drying.
Planting in the New Location
Dig the new hole twice as wide as the root ball but no deeper. Rhododendrons hate sitting in water, so if your soil is heavy clay, raise the bed slightly or add 30% pine bark fines to improve drainage.
Set the plant so the top of the root ball sits level with the soil surface, never below. Backfill with the amended soil, firming gently to eliminate air pockets. Water thoroughly right away to settle the roots and kickstart rehydration.
Post-Transplant Care for the First 6 Weeks
Keep the soil consistently moist but not soggy for the first month. Check every other day: if the top inch feels dry, water deeply. Apply a 2, 3 inch layer of pine needle or wood chip mulch, keeping it an inch away from the trunk to prevent rot.
Shade cloth can help if you’re transplanting in early fall with strong sun. Remove it once new growth appears, usually by week 4 or 5. Don’t prune unless branches are clearly dead; the plant needs all its leaves to recover.
Common Mistakes That Kill Transplanted Rhododendrons
Planting too deep is the number one killer. The crown, where stems meet roots, must stay above soil level. Bury it, and you invite Phytophthora root rot, which spreads fast in wet conditions.
Overwatering is just as dangerous as underwatering. Soggy soil suffocates roots, especially in clay. Stick your finger in up to the second knuckle: if it’s still wet past week 3, cut back.
Another classic error? Moving during a heatwave or right before a freeze. Even if the calendar says “fall,” check the 10-day forecast. A cold snap or heat spike can undo all your careful prep.
Container-Grown vs. Balled-and-Burlapped: Does It Change the Timing?
Yes, but not as much as you’d think. Container-grown rhododendrons have all their roots in the pot, so they’re less sensitive to exact soil temps. You can often move them in spring if kept shaded and watered, though fall still gives the best results.
Balled-and-burlapped plants are riskier. The burlap can restrict root growth if left on too long, and exposed roots dry out fast. Move these only when dormant, late fall to early spring, and keep the ball wrapped until planting. Never let it sit in the sun while you prep the hole.
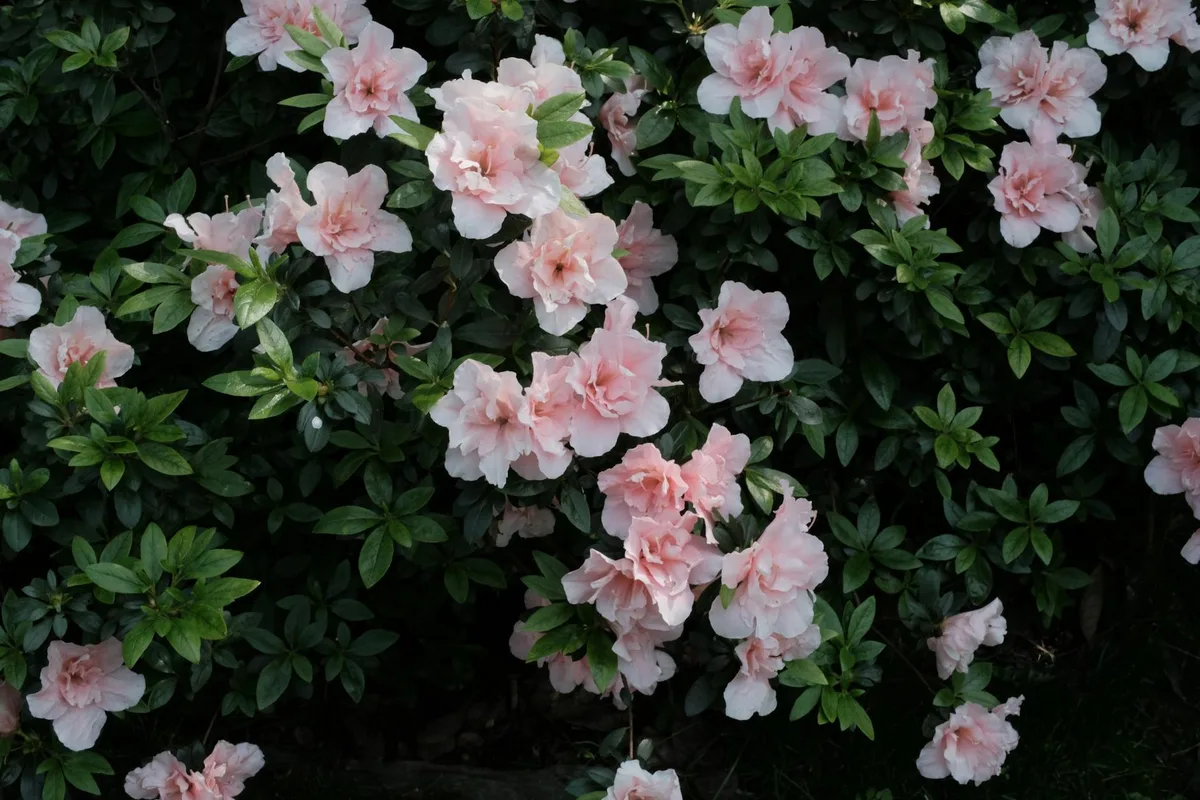
Container plants also let you inspect roots before buying. Look for white, fibrous roots circling the outside, a sign of health. Brown, mushy roots mean trouble ahead, no matter when you plant.
What to Do If You Miss the Ideal Window
If you’re stuck moving in summer, do it on an overcast day or late afternoon. Shade the plant immediately with 50% shade cloth and mist foliage lightly, but don’t rely on misting alone; roots need soil moisture.
In winter, only move if the ground isn’t frozen and temps stay above 25°F (-4°C). Water well before a freeze, then mulch heavily. Avoid salt-heavy deicers near the site, they’ll burn tender roots.
When in doubt, wait. A month’s delay beats a dead shrub. Mark your calendar for next year and prep the new hole in advance so you’re ready when conditions align.
Pro Tips from Decades of Moving Rhododendrons
Water with rainwater or filtered water if your tap is alkaline. Rhododendrons need acidic soil (pH 4.5, 6.0), and hard water can raise pH over time, locking out nutrients.
Add mycorrhizal fungi to the planting hole. These beneficial fungi form partnerships with roots, boosting water and nutrient uptake, especially helpful during recovery.
Keep a transplant log. Note the date, weather, soil temp, and how the plant looked pre-move. After 6 weeks, jot down recovery signs: new buds, leaf color, overall vigor. This builds your personal transplant calendar for future years.
Final Checklist: Am I Ready to Transplant My Rhododendron?
Before you grab the shovel, run through this quick checklist. If you answer “no” to any item, wait or adjust your plan.
Soil and Weather
- Soil temperature at 6 inches is between 55°F and 65°F (13°C, 18°C)
- No frost expected in the next 10 days
- Air temps are consistently below 80°F (27°C)
Plant Condition
- No active leaf or bud growth (dormant is best)
- Leaves are green and firm, not yellow or wilted
- Root ball holds together when gently squeezed
Site Prep
- New hole is dug, amended, and ready
- Mulch and water source are on hand
- Shade cloth is available if moving in early fall sun
Troubleshooting After the Move
Wilting in the first week is normal, don’t panic. But if leaves stay limp after 10 days of steady watering, check the root ball. Gently scratch the surface: if it’s bone dry an inch down, you’re not watering enough. If it’s soggy and smells sour, you’ve overwatered.
Brown leaf edges by week 3? That’s often salt burn from tap water or fertilizer. Flush the soil with rainwater or distilled water to leach out excess minerals.
No new growth by week 6 doesn’t mean failure. Some rhododendrons take their time. As long as stems are plump and green when scratched, the plant is alive. Keep watering and wait.
Long-Term Care for Transplanted Rhododendrons
After the first season, ease up on watering, only during droughts. Overwatering in year two is a common mistake; established roots don’t need constant moisture.
Feed lightly in early spring with an acid-forming fertilizer (look for ammonium sulfate or cottonseed meal). Avoid high-nitrogen blends, they promote weak, leggy growth.
Prune only to remove dead wood or shape lightly after flowering. Heavy cuts stress the plant and can open doors to pests like rhododendron borers.
When to Call in a Professional
If your rhododendron is larger than 5 feet or planted near structures, hire a landscaper with a tree spade. These machines lift the entire root ball with minimal damage, worth the cost for valuable specimens.
Also call a pro if you spot cankers (sunken, cracked bark) or blackened stems. These could signal Botryosphaeria dieback, a fungal disease that spreads fast and needs expert treatment.
For container-grown plants over 3 gallons, two people should handle the move. Dropping the root ball can shatter it, exposing delicate roots to air and sun.
Seasonal Reference Guide by Zone
| Zone | Best Window | Risk Periods | Notes |
|---|---|---|---|
| 4–5 | Late Aug–mid Oct | Nov–Mar (frozen soil) | Spring moves possible but riskier |
| 6–7 | Sept–Nov | Dec–Feb (cold snaps) | Fall is ideal; winter OK if unfrozen |
| 8+ | Oct–Dec or Feb–Mar | Jan (wet cold) | Avoid summer; mild winters allow flexibility |
Stick to your zone’s window, and you’ll avoid most heartbreak. Remember: rhododendrons are long-term companions. A little patience now pays off for decades of blooms.