Is your mower not charging properly and leaving you stranded mid-job? A faulty stator could be the culprit, but don’t worry—you don’t have to be an expert to fix it.
Understanding how to identify and repair a mower stator not charging can save you time and money. In this guide, you’ll discover simple steps to get your mower back up and running quickly. Ready to take control and bring your mower back to life?
Keep reading to find out exactly what you need to do.
Signs Of A Bad Mower Stator
The mower stator plays a crucial role in charging the battery and powering the electrical system. When it starts to fail, several signs appear that indicate trouble. Knowing these signs helps you catch problems early and avoid bigger repairs. Watch out for engine troubles, battery issues, and strange electrical behavior. These symptoms often point to a bad mower stator.
Engine Starting Issues
The mower may struggle to start or fail completely. The engine might crank slowly or not at all. This happens because the stator can’t provide enough power to the ignition system. A weak or dead stator affects spark generation. Without a good spark, the engine won’t fire properly.
Battery Not Charging
The battery loses charge quickly or never charges fully. Even after running the mower, the battery might stay low. The stator is responsible for charging the battery during operation. A bad stator stops this process, draining the battery over time. Constant battery replacements can signal this issue.
Unusual Electrical Behavior
Lights flicker or dim while the mower runs. Electrical accessories may work inconsistently. The stator provides stable voltage to the system. When faulty, voltage fluctuates causing strange electrical activity. These odd signs often confuse users but point to stator problems.
Credit: isavetractors.com
Tools Needed For Stator Repair
Fixing a mower stator requires the right tools. Using proper tools makes the repair easier and safer. Prepare these tools before starting the work to save time and avoid mistakes.
Multimeter
A multimeter checks electrical parts. It measures voltage, current, and resistance. Use it to test the stator’s coil and connections. This tool helps find if the stator is faulty or working.
Screwdrivers And Wrenches
Screwdrivers remove screws holding the stator in place. Wrenches loosen and tighten bolts. Both are essential for opening the mower and accessing the stator. Choose sizes that fit your mower’s fasteners.
Replacement Parts
Have replacement parts ready before repair. This includes a new stator or wiring if damaged. Using original or compatible parts ensures the mower works well after repair. Keep small parts like screws and connectors handy too.
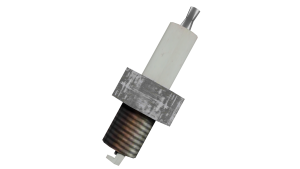
Locating The Mower Stator
Locating the mower stator is the first key step to fixing a mower that isn’t charging properly. Without finding this vital component, you can’t inspect it or test if it’s working as it should. Knowing exactly where it sits inside your mower’s engine saves time and frustration.
Accessing The Engine
Start by removing the mower’s engine cover. Usually, this involves unscrewing a few bolts with a socket wrench or screwdriver. Keep track of the screws so you don’t lose any—trust me, dropping one inside the mower is a hassle.
Once the cover is off, you’ll see the engine’s internal parts. Make sure the mower is completely off and cool before you touch anything to avoid burns or shocks. This step opens the way to inspect the stator without damaging other components.
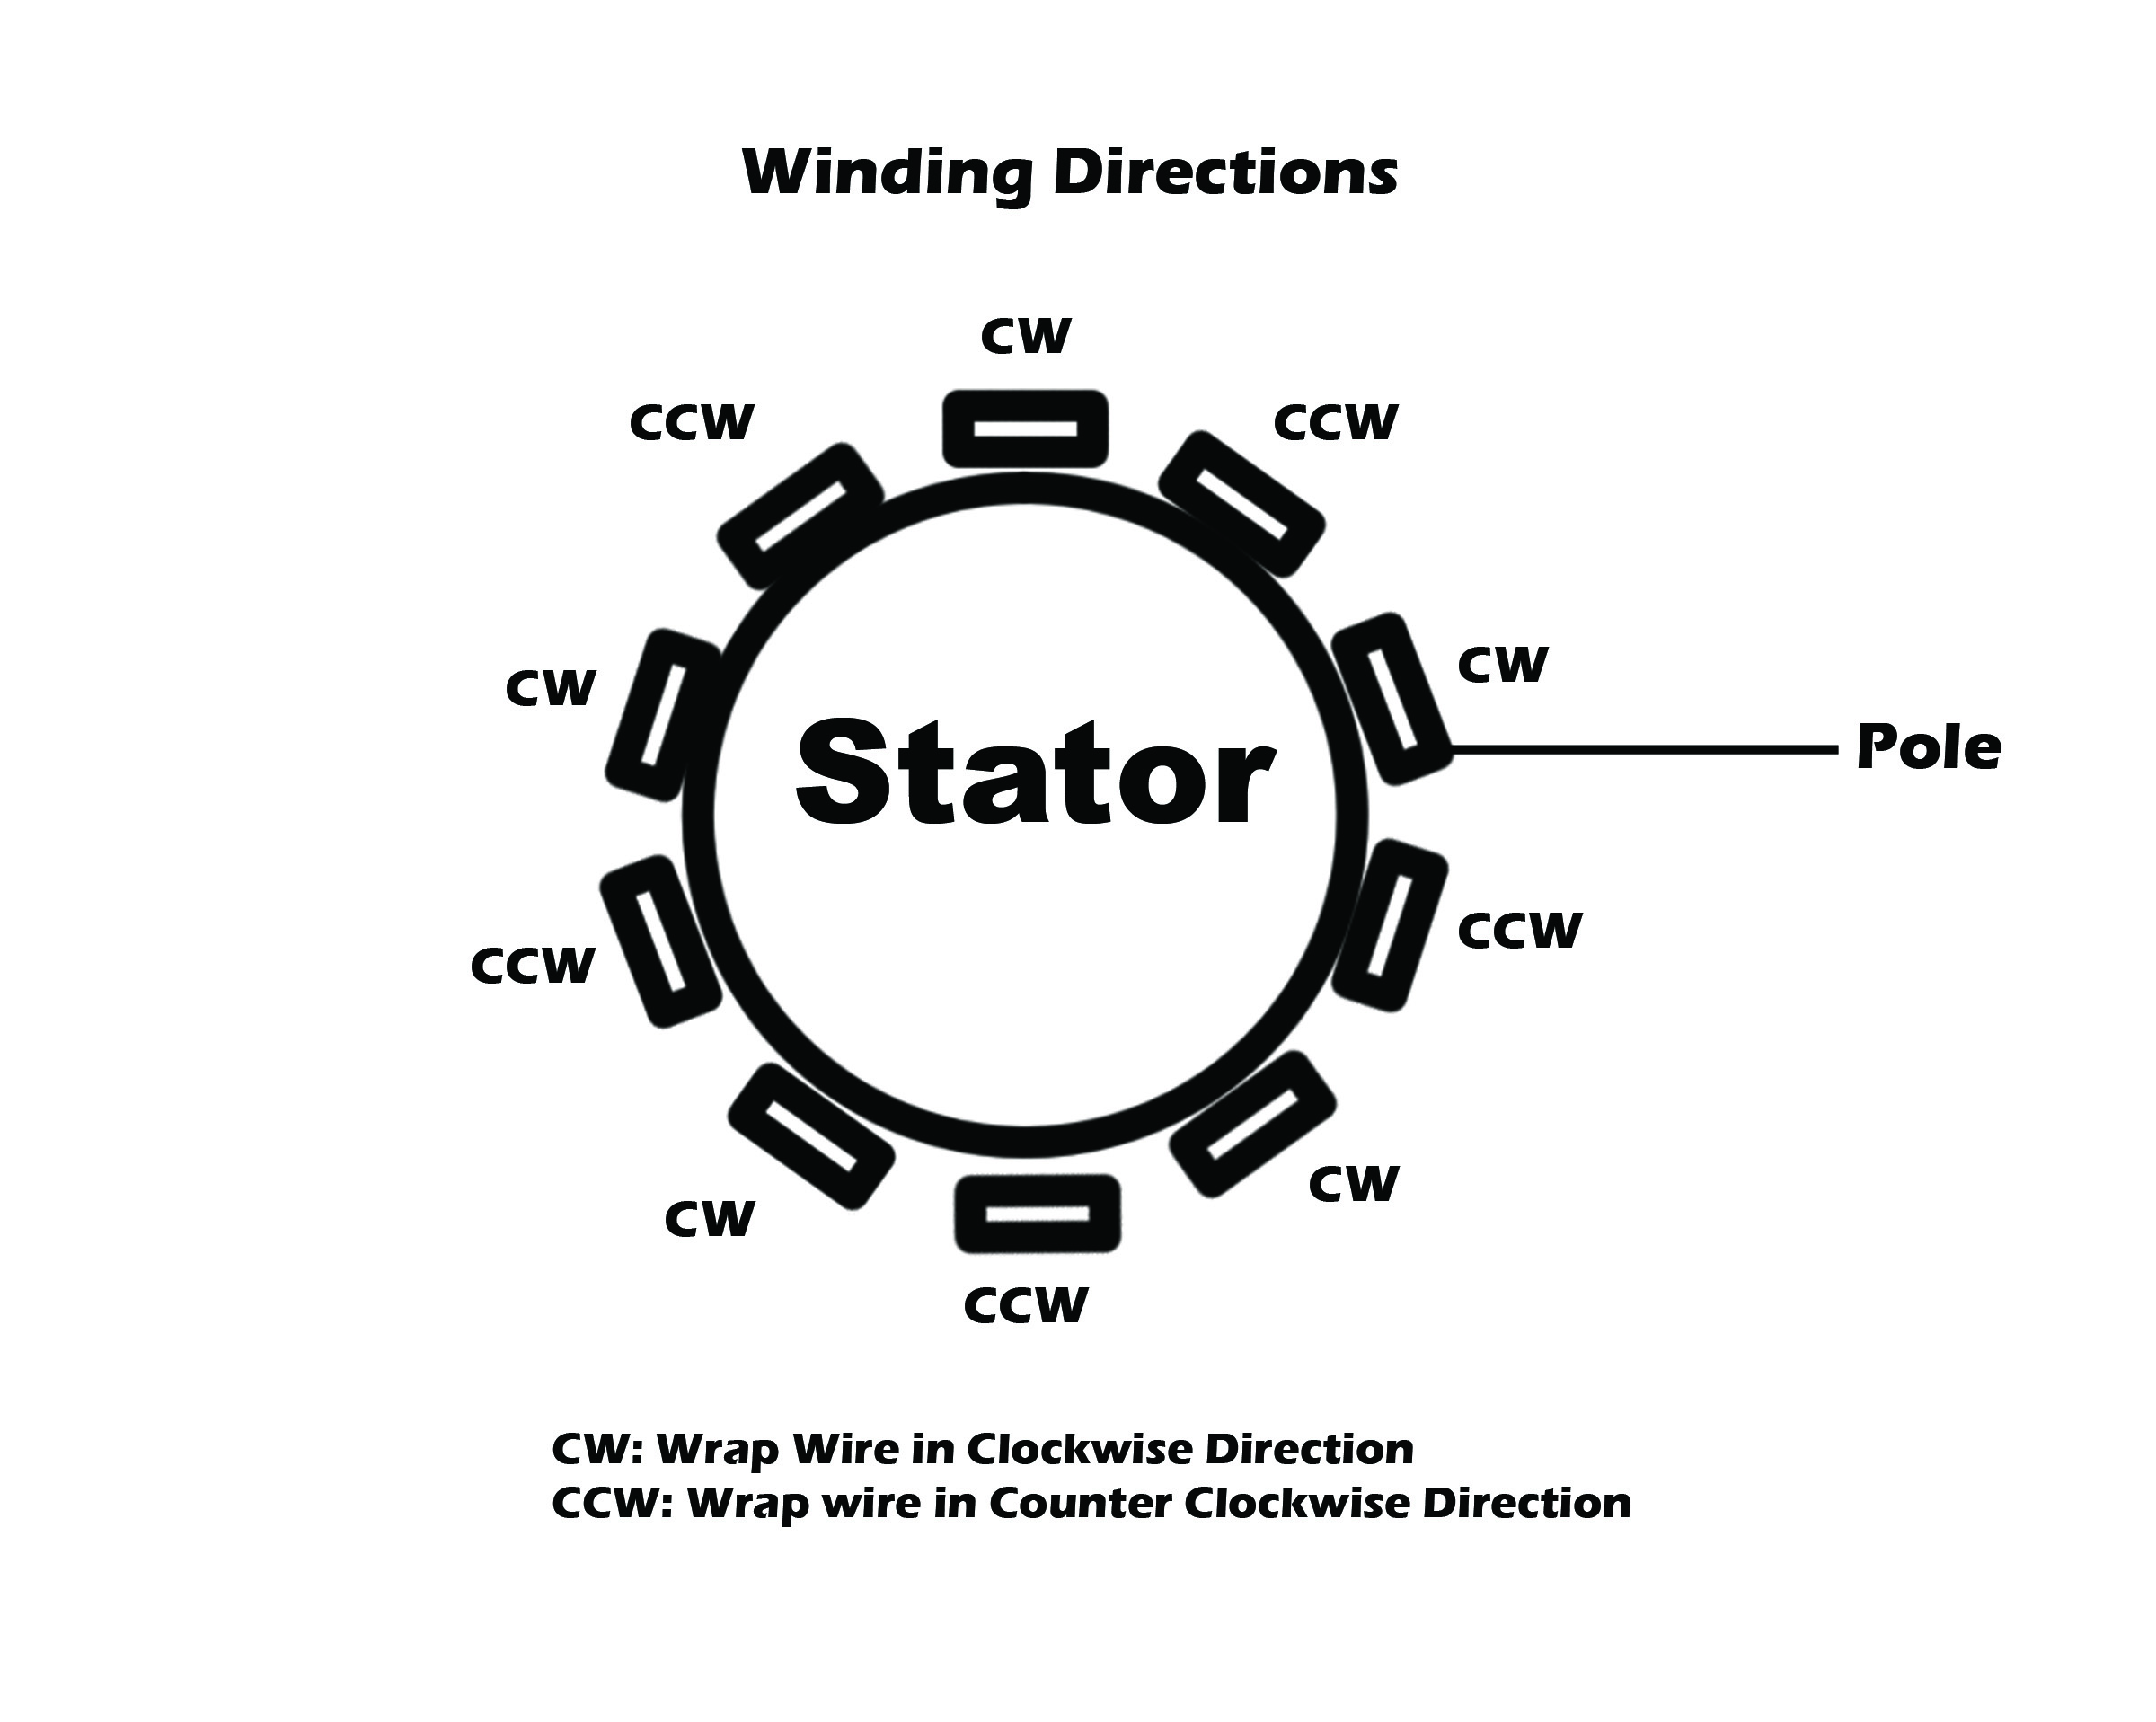
Identifying The Stator
The stator looks like a round, flat coil assembly mounted near the engine’s flywheel. It’s usually composed of several copper wire coils wrapped tightly around a metal frame. If you spot a circular part with multiple wires coming out, you’ve likely found the stator.
Check the wiring colors and connections; the stator wires often lead to the mower’s charging system or ignition module. If you’re unsure, compare what you see to the mower’s manual or online diagrams. Have you noticed strange wear or burnt marks on these wires? That might be why your mower isn’t charging.
Testing The Stator
Testing the stator is a key step in fixing a mower that is not charging. The stator produces electricity to power the mower’s battery and electrical system. Faulty stators can stop the mower from running properly. Checking its condition helps pinpoint the problem. This involves using tools and a careful visual inspection.
Using A Multimeter
A multimeter measures electrical values and is essential for testing the stator. Set the multimeter to the AC voltage setting. Start the mower and carefully place the probes on the stator terminals. The multimeter should show a voltage reading. Low or no voltage means the stator might be bad. Make sure to avoid touching moving parts during testing.
Checking Resistance Levels
Resistance testing helps find breaks or shorts in the stator coils. Turn off the mower and disconnect the stator. Set the multimeter to the resistance or ohms setting. Touch the probes to the stator’s terminals and note the reading. Compare it to the mower’s manual specifications. A reading too high or too low shows a problem with the stator winding.
Inspecting For Physical Damage
Physical damage often causes stator failure. Look for burnt spots, cracks, or broken wires on the stator. Check for corrosion or dirt on the connectors. Clean the parts gently if dirty. Damaged or worn parts usually need replacement. A good stator should look clean and intact with no visible damage.
Removing The Faulty Stator
Removing the faulty stator is a key task when fixing a mower that won’t charge. This part produces the electrical power needed for the battery. Taking it out carefully prevents damage to other components.
Start by preparing the mower. Make sure the engine is off and cooled down. Safety first. Locate the stator, usually near the flywheel inside the engine cover. Removing the cover gives clear access to the stator and its wiring.
Disconnecting Wires
Before unbolting, disconnect the stator’s wires. These wires connect the stator to the mower’s electrical system. Follow these tips:
- Identify the stator wires by their color and position.
- Use a small screwdriver or pliers to gently unplug the connectors.
- Avoid pulling on the wires directly to prevent damage.
- Keep the wires separated and organized to ease reinstallation.
Unbolting The Stator
Next, remove the bolts holding the stator in place. This step frees the stator from the engine. Use the right tools and follow these instructions:
- Locate all mounting bolts securing the stator.
- Use a socket wrench or screwdriver matching bolt size.
- Turn bolts counterclockwise to loosen and remove them.
- Hold the stator firmly to avoid dropping it once bolts are out.
Careful handling prevents damage to the stator and nearby parts. After removal, inspect the stator for visible damage or wear. This check helps confirm the need for replacement or repair.
Installing The New Stator
Installing the new stator requires care and attention to detail. This part helps generate the electricity needed for your mower’s operation. Proper installation ensures your mower charges correctly and runs smoothly. Follow these steps to fit the new stator securely and reconnect its wires.
Positioning And Securing
Place the new stator in the exact spot of the old one. Align it with the mounting holes on the engine casing. Use the correct bolts to secure it firmly. Tighten the bolts evenly to avoid warping the stator. Do not overtighten; this can damage the part. Ensure the stator sits flush against the engine surface. A well-positioned stator prevents vibration and electrical issues.
Reconnecting Wires
Match the wires of the new stator with the mower’s wiring harness. Connect each wire to its corresponding terminal carefully. Use insulated connectors or solder the wires for a solid connection. Check that no wires are loose or touching metal parts. Secure the wires with cable ties to prevent movement. Proper wiring ensures stable electrical flow and avoids shorts. Test the connections before closing the engine cover.
Post-repair Checks
Post-Repair Checks Ensure the mower’s stator is charging by inspecting connections and testing voltage output. Confirm the battery holds charge after repairs.
After you’ve tackled the repairs on your mower stator, it’s crucial to carry out post-repair checks to ensure everything is in working order. These checks not only confirm that your repairs were successful but also prevent future issues. Skipping this step is like leaving your house without checking if you locked the door. Let’s explore the essential checks you need to complete before considering the job done.Testing Battery Charge
Begin by testing the battery charge. Use a multimeter to measure the voltage of the battery. A fully charged 12-volt battery should read between 12.6 to 12.8 volts. If the reading is lower, it indicates that the battery is not charging properly, and you might need to revisit your repairs. Checking the battery charge after repairs is like giving your mower a clean bill of health. It’s reassuring to know your hard work paid off.Running The Engine
Next, fire up the engine and let it run for a few minutes. Listen for any unusual noises or vibrations that might indicate unresolved issues. While the engine is running, observe the battery voltage. It should increase slightly as the stator charges the battery, usually reaching around 13.5 to 14.5 volts. If everything seems smooth, give yourself a pat on the back. You’ve successfully fixed the stator, and your mower is ready to tackle the lawn again. These post-repair checks offer peace of mind and ensure that your mower remains reliable for future use. Have you ever found yourself skipping these checks, only to encounter a problem later on? It’s a lesson worth learning!
Credit: www.mytractorforum.com
Preventive Maintenance Tips
Keeping your mower’s stator in good shape can save you time and money. Preventive maintenance is your best defense against charging problems. Small, regular efforts can stop big issues before they start, ensuring your mower is always ready to go.
Regular Cleaning
Dirt and debris can block the stator from working properly. Clean the engine area often, especially after mowing in dusty or wet conditions. Use a soft brush or compressed air to gently remove grime without damaging delicate parts.
Have you ever noticed your mower struggling after a long, dirty session? That’s usually a sign your stator might be clogged or overheated. Keeping it clean helps maintain proper airflow and prevents overheating, which can ruin the charging system.
Routine Electrical Inspections
Electrical connections wear out or loosen over time. Check wires and terminals regularly to spot any corrosion, frayed wires, or loose connections. Tighten screws and replace damaged wires immediately to avoid sudden charging failure.
Using a multimeter can help you test your stator’s output voltage and continuity. This simple check can reveal hidden electrical issues before they cause a breakdown. Do you remember the last time you checked these connections? If not, it’s time to start this quick routine.
Credit: www.lawnsite.com
Frequently Asked Questions
What Causes A Mower Stator Not To Charge?
A mower stator may fail due to damaged wiring, burnt coils, or dirt buildup. Faulty connections and corrosion also cause charging issues. Regular inspection and cleaning can prevent these problems and maintain proper charging.
How To Test A Mower Stator For Charging Issues?
Use a multimeter to check the stator’s resistance and output voltage. Compare readings with manufacturer specifications. Low or no voltage indicates a faulty stator needing repair or replacement.
Can Cleaning The Mower Stator Fix Charging Problems?
Yes, cleaning removes dirt and debris that cause poor connections. Use a soft brush and electrical cleaner. Always disconnect the battery before cleaning to avoid electrical hazards.
When Should I Replace A Mower Stator?
Replace the stator if tests show open or short circuits. Signs include no charging, dim lights, or battery drain. A new stator restores reliable charging and mower performance.
Conclusion
Fixing a mower stator not charging is doable with the right steps. Test the stator and wiring carefully to find the problem. Replace faulty parts to restore proper charging. Regular maintenance helps avoid future issues. Keep tools handy and stay safe while working.
Following these tips will keep your mower running smoothly. Don’t let a weak battery stop your work. Simple checks and fixes save time and money. Keep your mower ready for every season.