Is your lawn mower struggling to start or running rough? One of the simplest parts to check is the spark plug.
Knowing how to test a spark plug on your lawn mower can save you time and money. It’s easier than you think, and doing it yourself means you won’t have to wait for a mechanic. In this guide, you’ll learn clear, step-by-step tips to quickly find out if your spark plug is the problem.
Keep reading—you’re just minutes away from getting your mower back in top shape.
Tools Needed
Before you start testing a spark plug on your lawn mower, gathering the right tools is essential. Having everything at hand makes the process smoother and saves you from frustrating interruptions. These tools are simple but powerful in diagnosing the health of your spark plug effectively.
Socket Wrench With Spark Plug Socket
A socket wrench paired with a spark plug socket is the first tool you need. The spark plug socket is specially designed with a rubber insert to grip the plug securely without damaging it. Using this tool helps you remove and reinstall the spark plug easily.
Spark Plug Gap Gauge
Checking the gap on your spark plug is crucial for proper engine performance. A spark plug gap gauge lets you measure the distance between the electrodes accurately. If the gap is off, you can adjust it using this tool to ensure your mower runs smoothly.
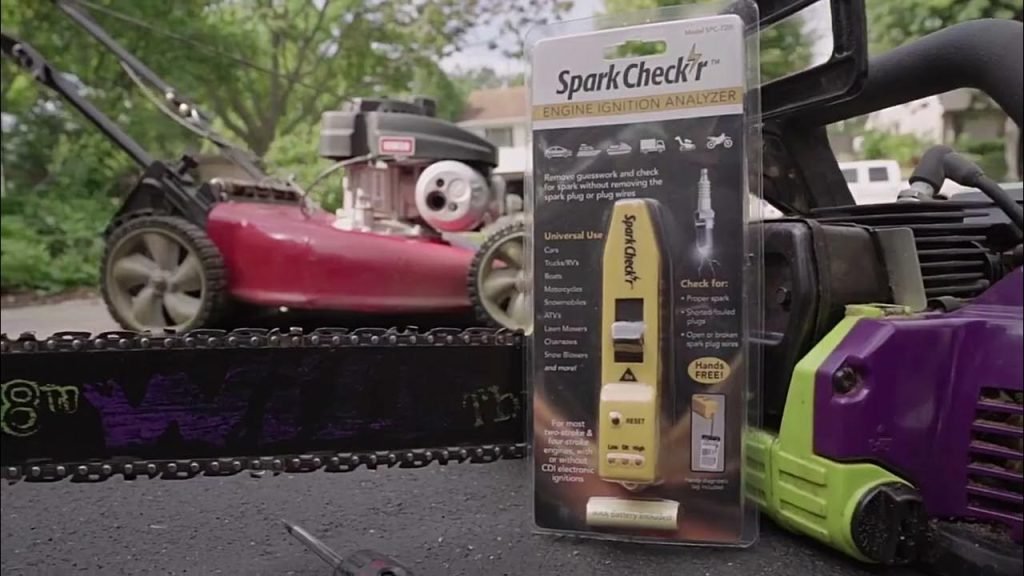
Multimeter Or Spark Tester
Testing the spark plug’s electrical function requires either a multimeter or a spark tester. A multimeter can check the resistance and continuity, while a spark tester shows if the plug produces a spark. These tools help you decide if the spark plug needs cleaning or replacement.
Wire Brush Or Spark Plug Cleaner
Sometimes, a dirty spark plug is the main problem. A wire brush or a dedicated spark plug cleaner removes carbon deposits and dirt from the plug’s surface. Cleaning the plug can restore its performance without buying a new one.
Protective Gloves And Safety Glasses
Don’t underestimate safety gear. Gloves protect your hands from sharp edges and hot engine parts, while safety glasses shield your eyes from debris. Keeping yourself safe allows you to focus on the task without worry.
.jpg)
Credit: www.vanguardpower.com
Safety Precautions
Testing a spark plug on a lawn mower requires careful attention to safety. Spark plugs deal with electricity and engine parts, which can be dangerous without proper care. Taking safety precautions helps avoid injuries and damage. Here are key safety steps to follow before and during the spark plug test.
Turn Off The Lawn Mower
Make sure the mower is completely off. Remove the key or disconnect the spark plug wire. This stops the engine from starting by accident. Never test the spark plug while the mower is running.
Wear Protective Gear
Use gloves to protect your hands from dirt and sharp parts. Safety glasses shield your eyes from sparks or debris. Wear closed-toe shoes to protect your feet from heavy parts.
Work In A Well-ventilated Area
Test the spark plug outside or in a space with fresh air. Gas fumes can build up in closed areas. Proper ventilation reduces the risk of breathing harmful fumes.
Keep Flammable Materials Away
Remove gasoline, oil, and other flammable items from the workspace. Sparks can cause fires if these materials are near. A clean, clear workspace reduces fire hazards.
Use The Right Tools
Use tools made for spark plug removal and testing. Avoid using damaged or makeshift tools. Proper tools make the job safer and easier.
Locating The Spark Plug
Finding the spark plug on your lawn mower is the first step to checking if it’s working properly. Most spark plugs are easy to spot once you know where to look. Knowing exactly where it is saves you time and frustration, especially if you’re new to mower maintenance.
Look Near The Engine Cylinder
The spark plug is usually screwed into the engine cylinder head. This is the part of the engine where the combustion happens. It often looks like a small metal piece with a thick wire attached to it.
Take a close look around the engine block; the spark plug will have a thick wire connected to it called the ignition wire. This wire leads from the spark plug to the ignition coil, so following the wire can help you locate the plug quickly.
Check For A Thick Wire With A Rubber Boot
The spark plug wire has a rubber boot covering the connection point. This boot protects the spark plug and keeps the electrical connection safe from dirt and moisture. You can usually find this boot sticking out from the side of the engine.
If you see a thick wire with a rubber cap on the end, gently pull it off to reveal the spark plug underneath. Be careful not to pull too hard or damage the wire.
Consult Your Lawn Mower’s Manual
Every mower model is a bit different, and the manual will often show a diagram of the engine parts. This diagram points out the exact location of the spark plug. If you don’t have a physical copy, try searching online for your mower’s manual by model number.
Have you ever skipped reading the manual and wasted time looking all over your mower? This simple step can make your job much easier.
Removing The Spark Plug
Removing the spark plug is the first crucial step to testing it on your lawn mower. It might seem simple, but handling the spark plug carefully can save you from damage and ensure accurate testing. Knowing how to remove it correctly helps you avoid common mistakes that can lead to engine problems later.
Locate The Spark Plug
Start by finding the spark plug on your lawn mower’s engine. It usually looks like a thick wire connected to a small metal cylinder. If you’re unsure, check your mower’s manual or look for a rubber boot attached to a metal part.
Disconnect The Spark Plug Wire
Before touching the spark plug, pull off the spark plug wire carefully. Hold the boot (the rubber part), not the wire itself, to avoid damaging the wire inside. This step is important for your safety and to keep the wire functional for future use.
Clean The Area Around The Spark Plug
Remove any dirt or grass around the spark plug with a brush or cloth. Dirt can fall into the engine once the plug is out, causing problems. A clean work area helps prevent unnecessary engine damage and makes the process smoother.
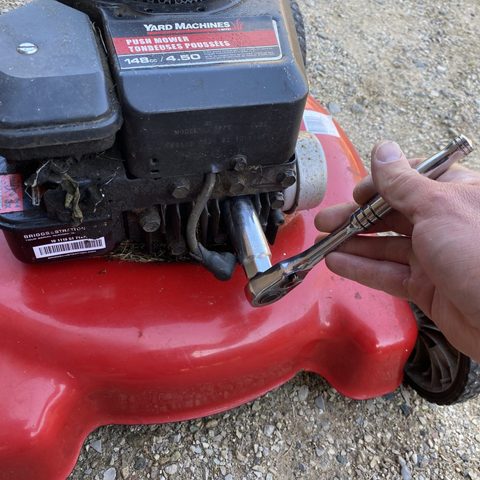
Use The Right Spark Plug Socket
Find a spark plug socket that fits your plug snugly—usually 5/8 inch or 13/16 inch. Attach it to a ratchet or wrench. Using the correct tool prevents slipping and rounding off the plug’s edges.
Unscrew The Spark Plug
Turn the socket counterclockwise to loosen the spark plug. It may take some effort if it’s tight, but avoid using excessive force to prevent breaking the plug. Once loose, carefully pull the spark plug out by hand.
Visual Inspection
Visual inspection is the first and simplest way to check if your lawn mower’s spark plug is working properly. It gives you immediate clues about the condition of the spark plug without needing any tools. Taking a close look can save you time and money by identifying obvious issues before digging deeper.
Removing The Spark Plug Safely
Before you inspect, make sure your mower is off and cooled down. Disconnect the spark plug wire by pulling it straight off, not twisting. Use a spark plug socket or wrench to carefully remove the plug without damaging the threads.
Checking For Physical Damage
Look closely at the spark plug’s body and electrode. Are there any cracks, chips, or broken parts? Damage like this means the spark plug won’t fire properly and needs replacement immediately.
Examining The Electrode Gap
The gap between the center and side electrode is crucial for creating a strong spark. Is the gap too wide or too narrow? If it looks uneven or worn down, your mower might have trouble starting or running smoothly.
Identifying Signs Of Fouling
Does the spark plug have black, oily, or sooty deposits on it? This is called fouling, and it can stop the spark from jumping across the gap. Fouling often points to problems like a rich fuel mix, dirty air filter, or oil leak.
Spotting Corrosion And Rust
Rust or corrosion on the spark plug’s metal parts can prevent good electrical contact. It’s easy to overlook but can cause weak or inconsistent sparks. Cleaning minor corrosion might help, but severe rust usually means replacement.
Assessing Color And Wear Patterns
A healthy spark plug typically has a light tan or grayish color on the electrode and insulator. If you see white, blistered, or burned areas, it might indicate overheating. Yellow or brown deposits could suggest fuel or oil contamination.
Testing Spark Plug With A Multimeter
Testing a spark plug with a multimeter helps find electrical problems. It checks if the spark plug conducts electricity properly. This test can show if the plug is good or needs replacement.
Set Multimeter To Ohms
Turn on the multimeter and set it to measure resistance, shown as ohms (Ω). Use the lowest resistance setting for better accuracy. This setting helps detect if electricity flows through the spark plug.
Check Electrode Resistance
Place one multimeter probe on the center electrode of the spark plug. Put the other probe on the metal shell of the plug. Look at the multimeter reading.
A healthy spark plug shows a low resistance value, usually less than 10,000 ohms. A very high or infinite reading means the spark plug is faulty. Replace the spark plug if resistance is too high or no reading appears.
Testing Spark Plug Spark
Testing the spark plug spark is a key step in diagnosing lawn mower issues. Without a strong spark, your mower won’t start or run smoothly. This process helps you confirm if the spark plug is doing its job or needs replacement.
Reconnect Spark Plug Wire
Start by securely reconnecting the spark plug wire to the spark plug’s terminal. A loose or disconnected wire can prevent the spark from firing. Make sure the connection is tight and snug to ensure proper electrical flow.
Ground The Spark Plug
To test for spark, you need to ground the spark plug. Hold the metal part of the spark plug against the engine’s metal surface. This creates a path for the electricity to jump across the gap in the plug.
Check For Spark
Pull the starter cord and watch closely at the spark plug gap for a bright blue spark. If you see a clear, strong spark, your plug is working fine. A weak or no spark means the plug is faulty or there’s an electrical issue.
Credit: www.familyhandyman.com
Cleaning Or Replacing The Spark Plug
Cleaning or replacing the spark plug is a key part of lawn mower maintenance. A dirty or worn spark plug can stop the engine from running smoothly. Checking the spark plug helps to keep your mower in good shape and saves money on repairs.
Sometimes, cleaning the spark plug is enough. Other times, replacing it is the best choice. Knowing how to tell the difference is important for proper care.
First, make sure the lawn mower is off and cool. Use a spark plug wrench to loosen and remove the spark plug. Handle it carefully to avoid damage.
Cleaning The Spark Plug
Look for dirt, oil, or carbon build-up on the spark plug. Use a wire brush or spark plug cleaner to remove deposits. Clean the metal parts gently without scratching. Check the spark plug gap with a feeler gauge and adjust if needed.
Inspecting The Spark Plug For Damage
Check the spark plug for cracks or worn electrodes. A damaged spark plug should be replaced immediately. Also, note if the tip is burnt or eroded.
Choosing The Right Replacement Spark Plug
Use the owner’s manual to find the correct spark plug type. Choose the right size, heat range, and brand recommended. Using the wrong spark plug can harm engine performance.
Installing The Spark Plug
Thread the spark plug by hand to avoid cross-threading. Tighten it with a wrench until snug. Do not over-tighten, which can damage the threads. Reconnect the spark plug wire firmly.
Reinstalling The Spark Plug
Reinstalling the spark plug is a crucial step after testing it on your lawn mower. If not done correctly, it can lead to poor engine performance or even damage. Taking your time here ensures your mower runs smoothly and starts easily every time.
Clean The Spark Plug And Surrounding Area
Before putting the spark plug back, make sure to clean it thoroughly. Dirt or debris around the spark plug hole can fall into the engine and cause problems. Use a clean rag or compressed air to clear the area around the spark plug well.
Check The Spark Plug Gap
Did you adjust the gap between the electrodes before testing? This gap affects engine performance. Use a spark plug gap tool to verify it matches your mower’s specifications. If it’s too wide or narrow, adjust it carefully before reinstalling.
Apply Anti-seize Compound (optional)
Applying a small amount of anti-seize compound on the spark plug threads can make future removal easier. This step isn’t mandatory but can save you frustration later. Just be sure not to over-apply, as too much can affect tightening torque.
Hand-tighten The Spark Plug First
Always start screwing the spark plug in by hand. This prevents cross-threading, which can damage the engine’s cylinder head. Once it’s snug, you can use a wrench to tighten it further.
Tighten To The Correct Torque
Too loose, and the spark plug may vibrate out; too tight, and you risk stripping the threads. Use a torque wrench if you have one, aiming for the manufacturer’s recommended torque setting. If you don’t have a torque wrench, tighten it firmly but don’t overdo it—about a quarter turn after hand-tight is usually enough.
Reconnect The Spark Plug Wire
Push the spark plug wire boot firmly onto the spark plug until it snaps into place. A loose connection can cause starting problems or misfires. Double-check that the wire is secure before moving on.
Test The Mower After Reinstallation
Once everything is back in place, start your mower to see how it runs. Does it start quickly and idle smoothly? If not, double-check your installation steps or inspect other parts of the ignition system.
Final Engine Test
After checking and cleaning the spark plug, the final engine test confirms if the mower runs smoothly. This step shows whether the spark plug works well and if the engine starts easily. It also helps detect any other issues that may need attention. Always perform this test safely to avoid accidents.
Preparing The Lawn Mower For The Test
Place the mower on a flat surface. Ensure there is enough fuel and oil. Remove any tools or debris near the engine. Wear safety glasses and gloves for protection. Connect the spark plug wire firmly to the spark plug.
Starting The Engine
Pull the starter cord slowly at first, then quickly. Listen for a steady engine sound without sputtering. If the engine does not start, check the spark plug connection. Repeat the pull a few times but avoid flooding the engine.
Observing Engine Performance
Watch the engine run for a few minutes. The sound should be smooth and steady. Notice if the mower runs at full power. Check for unusual noises or vibrations. If the engine stalls or hesitates, the spark plug may need replacement.
Adjusting Or Replacing The Spark Plug
If the engine runs poorly, turn it off safely. Disconnect the spark plug wire and remove the plug. Inspect the spark plug for damage or wear. Replace the spark plug with a new one if needed. Repeat the final engine test to confirm the fix.
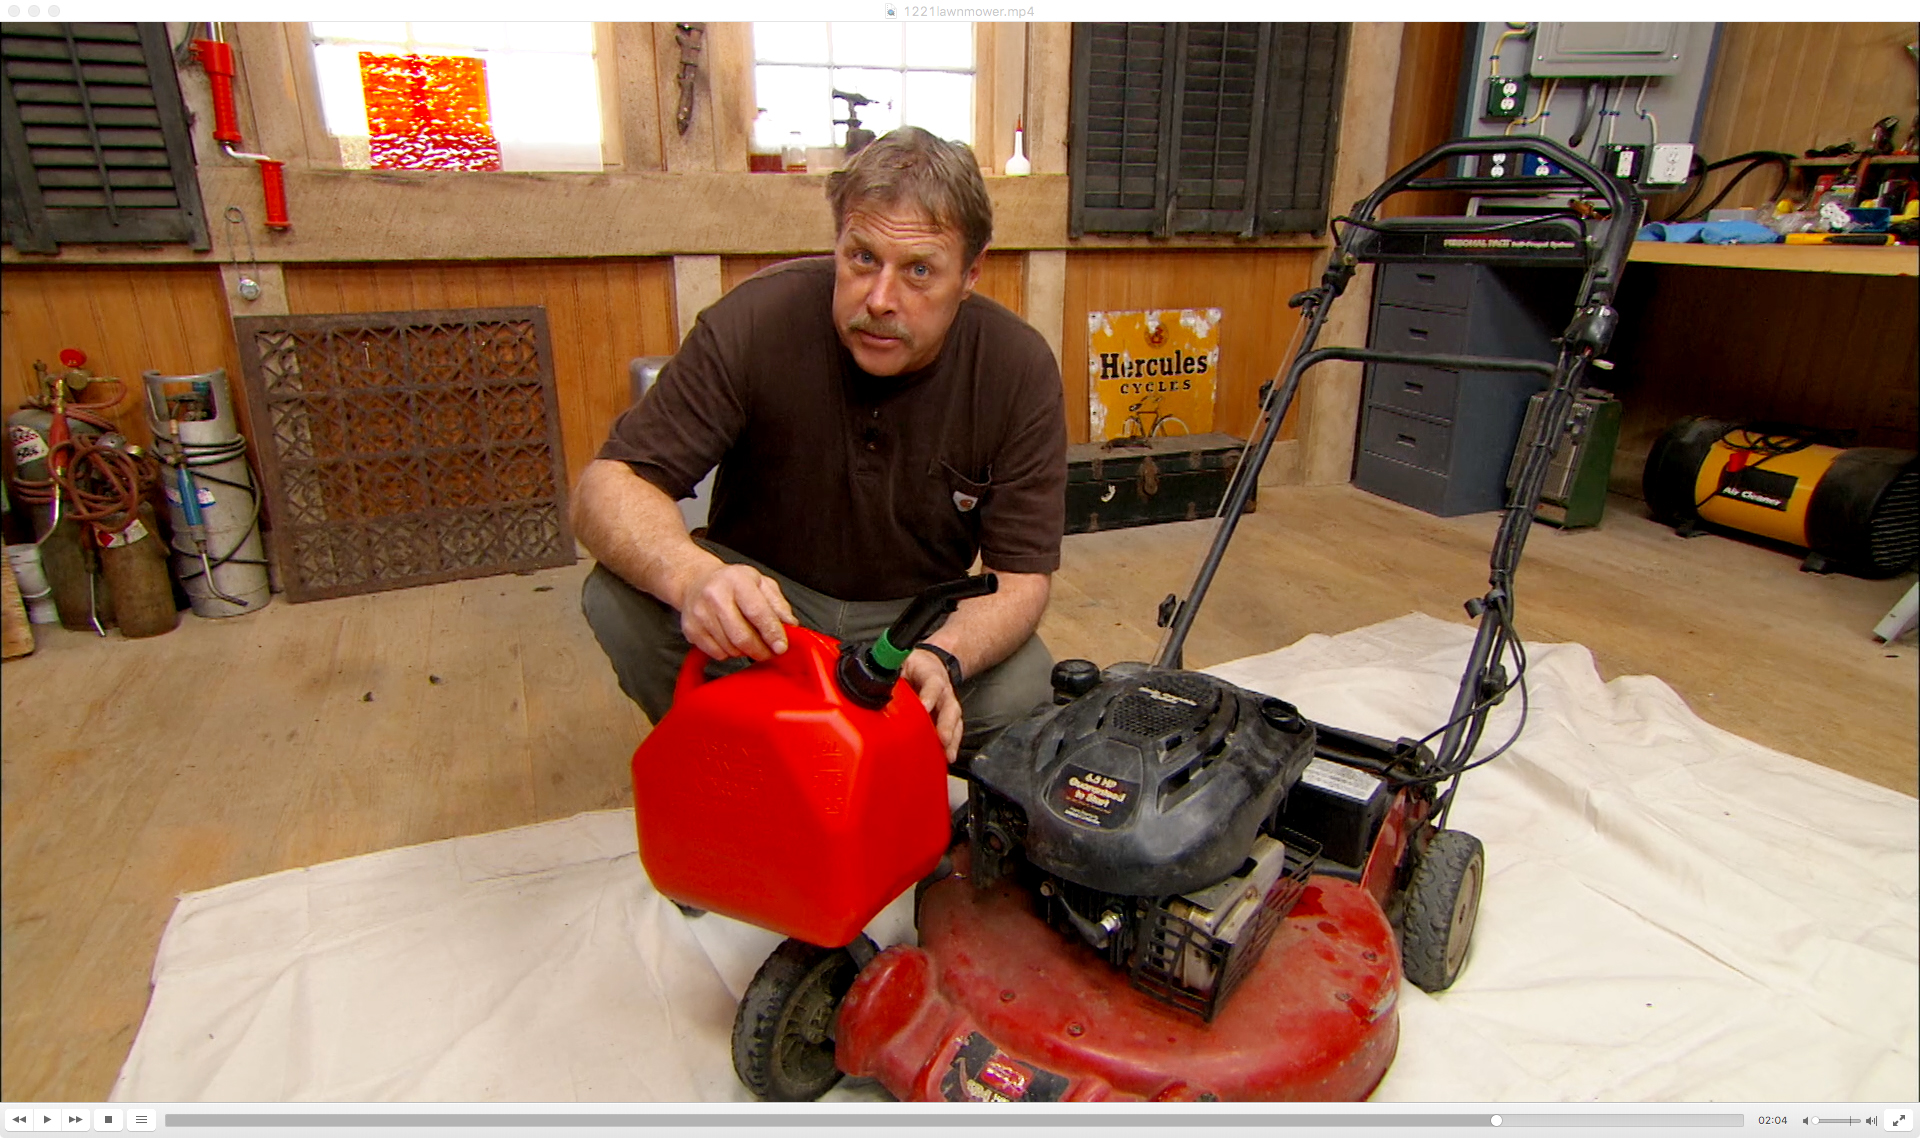
Credit: www.thisoldhouse.com
Frequently Asked Questions
How Do I Know If My Lawn Mower Spark Plug Is Bad?
A bad spark plug causes hard starting, rough running, or no start. Check for cracks, carbon buildup, or worn electrodes. Testing with a spark tester confirms if it sparks properly.
What Tools Are Needed To Test A Spark Plug?
You need a spark plug socket, ratchet, spark tester, and optionally a multimeter. These tools help remove, inspect, and test spark plug functionality accurately.
Can I Test A Spark Plug Without Removing It?
Yes, using an inline spark tester, you can test without removal. It attaches between the spark plug wire and plug, showing if the spark is strong enough.
How Often Should I Test My Lawn Mower Spark Plug?
Test the spark plug at least once a season or every 25 hours of use. Regular testing ensures optimal mower performance and prevents unexpected breakdowns.
Conclusion
Testing a spark plug on a lawn mower is essential. It ensures smooth operation. Regular checks can prevent major issues later. Start by safely removing the spark plug. Inspect it for damage or dirt. Clean or replace as needed. Use a spark tester to check for a spark.
This confirms it’s working. If not, consider replacing it. Proper maintenance keeps your mower running efficiently. Save time and money. Enjoy a well-kept lawn with fewer hassles. Remember, a healthy spark plug means a happy mower. Keep testing regularly for optimal performance.


