Are you noticing your mower struggling to start or running rough? Your engine valves might be out of adjustment.
Learning how to adjust mower engine valves can save you time and money, and keep your mower running smoothly all season long. In this guide, you’ll discover simple, step-by-step instructions that anyone can follow—even if you’re not a mechanic. By the end, you’ll have the confidence to tune your mower’s engine like a pro, ensuring it performs at its best every time you push the start button.
Keep reading to unlock the secret to a healthier, more powerful mower engine.

Credit: usaclean.com
Signs Of Valve Issues
Recognizing the signs of valve issues in your mower engine is crucial to prevent costly repairs and keep your machine running smoothly. Valves control the flow of air and fuel into the engine and the exhaust out, so any problem here can quickly affect performance. Knowing what to look for helps you catch problems early and adjust the valves before damage worsens.
Common Symptoms
- Hard starting:If your mower struggles to start or takes multiple pulls, valve problems might be the cause.
- Rough idle:Notice your engine shaking or running unevenly when idling? This often signals valve clearance issues.
- Loss of power:When your mower feels weaker or slower cutting through grass, valves could be sticking or not sealing properly.
- Unusual noises:Tapping or clicking sounds from the engine can indicate valves that need adjustment.
- Increased fuel consumption:If you find yourself refueling more often, faulty valves might be reducing efficiency.
Impact On Engine Performance
Valve issues directly affect how well your engine breathes. Poor valve clearance can cause incomplete combustion, leading to less power and more smoke.
When valves don’t open or close at the right time, the engine wastes fuel and struggles to maintain speed. This can leave you frustrated, especially when mowing thick or tall grass.
Have you noticed your mower lagging on slopes or stalling unexpectedly? Adjusting the valves often restores smooth running and boosts reliability. Ignoring these signs could mean your engine wears out faster, forcing you to spend more on repairs or replacements.
Tools You’ll Need
Adjusting mower engine valves requires more than just skill—it demands the right tools at your fingertips. Having the proper equipment not only makes the job smoother but also protects your mower from accidental damage. Before you start, gather everything you need to avoid interruptions and frustration.
Essential Equipment
Start with a good feeler gauge. This tool measures the gap between the valve and the rocker arm precisely. Without it, you risk setting the gap too tight or too loose, which can harm your engine.
You’ll also need a socket wrench set. Different engines have varying bolt sizes, so a set with multiple socket sizes ensures you can loosen and tighten bolts easily. A screwdriver, usually flathead or Phillips, comes in handy for adjusting screws and clamps.
Don’t forget a torque wrench if you want to be exact. It helps you tighten bolts to the manufacturer’s specifications, preventing over-tightening or loosening during operation. A small mirror and flashlight can also help you see hard-to-reach areas clearly, especially if the engine is dirty or cramped.
Safety Gear
Safety glasses are a must. Tiny metal shavings or debris can easily fly into your eyes while working near the engine. Protecting your vision is non-negotiable.
Gloves shield your hands from sharp edges and hot surfaces. They also improve your grip on tools, reducing the chance of slips and injuries. Choose gloves that are flexible but durable enough for mechanical work.
Consider ear protection if you plan on running the engine while making adjustments. Engine noise can be loud and damaging over time. Simple foam earplugs or earmuffs will keep your hearing safe.
Preparing The Mower
Adjusting mower engine valves ensures smooth operation and longevity. Start by disconnecting the spark plug for safety. Then, remove the valve cover to access the valves. Use a feeler gauge to measure the gap and adjust it to specifications. Reassemble carefully and test the engine.
Preparing the Mower Before diving into the intricate task of adjusting your mower’s engine valves, a little groundwork ensures a smooth process. Have you ever started a project only to realize you forgot a crucial step at the beginning? Preparing your mower correctly saves you from this frustration. It sets the stage for a hassle-free valve adjustment and extends the life of your machine.Cleaning The Engine Area
Cleaning your mower’s engine area is like laying a clean table before a feast. Begin by disconnecting the spark plug to prevent any accidental starts. Use a stiff brush to remove debris and dirt that might obstruct your work. Even a small twig can lead to significant issues if left unchecked. Consider using a mild degreaser for stubborn grease spots. A clean engine area allows you to see and reach every component easily. Plus, it prevents dirt from entering the engine during valve adjustments.Positioning The Mower
Proper positioning of your mower is crucial for both safety and efficiency. Place your mower on a flat, stable surface to avoid any tipping. If your mower has a fuel valve, turn it off to prevent any spills. Ensure the mower is at a comfortable height for you to work on. Using jack stands or blocks can elevate it, making the task easier on your back. A well-positioned mower allows you to focus entirely on the task, not on balancing the machine. Isn’t it satisfying to know every step you take brings you closer to a perfectly tuned engine? Proper preparation may seem simple, but it’s an essential part of the process.Locating The Valves
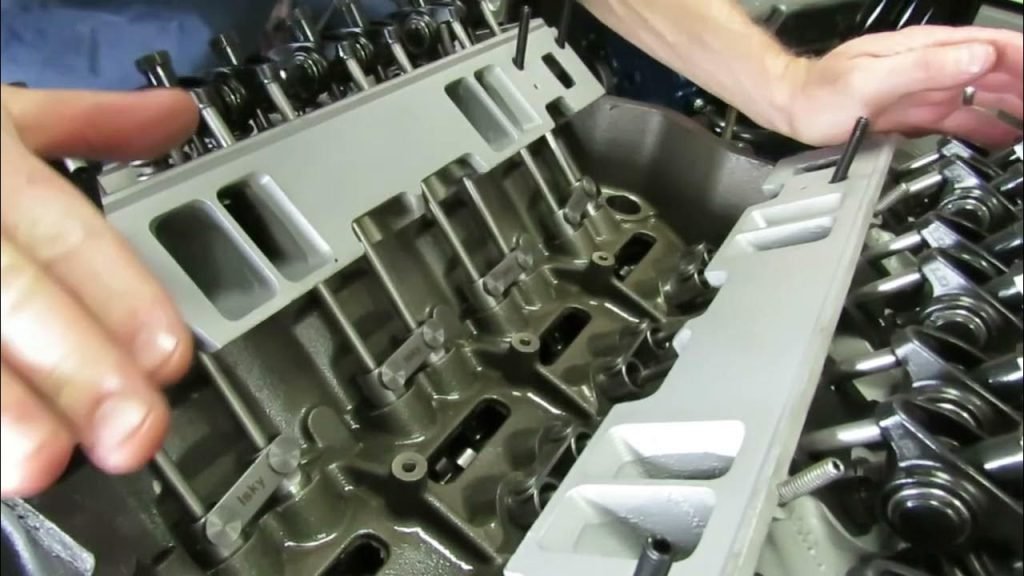
Locating the valves on a mower engine is the first step in adjusting them correctly. Knowing their exact position helps avoid damage and ensures smooth engine performance. Valves control the flow of air and fuel into the engine and the release of exhaust gases. Finding the intake and exhaust valves requires a clear understanding of the engine layout and some basic tools.
Identifying Intake And Exhaust Valves
Intake valves let air and fuel enter the engine cylinder. They are usually larger than exhaust valves. Exhaust valves release burnt gases after combustion. They tend to be smaller and made from heat-resistant materials.
Look closely at the cylinder head. Intake valves often connect to the carburetor or air intake system. Exhaust valves link to the exhaust manifold or pipe. This visual clue helps distinguish between them quickly.
Accessing The Valve Cover
The valve cover protects the valves and rocker arms. It is typically on top of the engine cylinder head. Removing it gives access to the valves for adjustment.
Use a wrench or socket set to loosen the bolts holding the cover. Keep the bolts safe as you remove the cover. Some covers have rubber gaskets. Check for damage and replace if needed to avoid leaks.
Measuring Valve Clearance
Measuring valve clearance is a crucial step when adjusting mower engine valves. It ensures the engine runs smoothly and efficiently by maintaining the right gap between the valve and the rocker arm. Too tight or too loose, and you risk poor performance or damage.
Using A Feeler Gauge
A feeler gauge is a simple tool that measures the gap between engine parts. To measure valve clearance, insert the correct thickness blade between the valve stem and rocker arm.
You should feel slight resistance when sliding the gauge in and out. If it’s too loose, the clearance is too wide; if it’s too tight, the clearance is too narrow. Adjustments are necessary if the feeler gauge doesn’t fit properly.
Remember, the key is a consistent and gentle feel, not forcing the gauge in or out. This method gives you a direct and accurate reading of the clearance, which is essential for proper engine function.
Checking Manufacturer Specs
Always check your mower’s manual or the manufacturer’s website for the exact valve clearance specifications. Different engines require different clearances, so using the right numbers matters.
These specs usually include measurements for both intake and exhaust valves. For example, an intake valve might require 0.10 mm clearance, while the exhaust valve needs 0.15 mm.
If you skip this step, you might adjust the valves incorrectly and cause engine issues. Have you ever guessed a setting and later regretted it? Accurate specs prevent costly mistakes and keep your mower running strong.
Adjusting The Valves
Adjusting the valves on your mower engine is a crucial task that keeps your machine running smoothly and efficiently. Proper valve clearance ensures the engine breathes correctly, which can improve performance and extend its life. Let’s break down the key steps to get those valves adjusted just right.
Loosening Lock Nuts
Start by locating the valve lock nuts on your mower engine. These nuts hold the rocker arms in place, which control the valve movement. Use a wrench to carefully loosen the lock nuts without removing them completely—this gives you room to adjust the clearance.
Be cautious not to strip the nuts as they can be tight or rusted from use. If you’ve ever struggled with stubborn nuts, try applying a bit of penetrating oil and let it sit before attempting again. This small step can save you from damaging parts and frustrating delays.
Setting Proper Clearance
The correct valve clearance is often specified in your mower’s manual, usually measured in thousandths of an inch or millimeters. Use a feeler gauge to check the gap between the rocker arm and the valve stem.
- Insert the appropriate gauge thickness between the parts.
- Adjust the rocker arm by turning the adjustment screw until you feel a slight drag on the gauge.
- Double-check the clearance to make sure it’s consistent and precise.
Have you noticed how even a tiny misalignment can cause rough engine idling or loss of power? Getting this step right can make all the difference in how your mower performs.
Tightening Lock Nuts
Once you set the clearance, hold the adjustment screw steady and tighten the lock nut back down. This locks the rocker arm in place without changing the clearance you just set.
It’s easy to over-tighten and accidentally shift the adjustment, so use a firm but controlled force. After tightening, recheck the clearance with the feeler gauge to confirm nothing moved. This final check ensures your mower’s engine will run smoothly, without any valve noise or performance issues.
Reassembling And Testing
After adjusting your mower engine valves, the next critical phase is putting everything back together and making sure it runs smoothly. This part requires patience and attention to detail. A small mistake during reassembly can affect your mower’s performance or even cause damage.
Replacing The Valve Cover
Start by carefully placing the valve cover back onto the engine. Check the gasket for any cracks or wear; a damaged gasket can cause oil leaks. If the gasket looks worn, replace it before securing the cover.
Use the correct torque to tighten the bolts evenly. Tighten them in a crisscross pattern to ensure the cover seals properly. Over-tightening can warp the cover, while under-tightening might let oil seep out.
Starting The Engine
Once reassembled, start your mower engine with a clear area around it. Listen carefully for any unusual sounds, such as knocking or ticking, which could indicate valve issues. Let the engine warm up slowly to operating temperature.
If the engine struggles to start or stalls, double-check your valve adjustments. Sometimes a slight readjustment can make a big difference. Are you hearing a steady rhythm or an irregular noise? That’s your first clue about the engine’s health.
Monitoring Performance
After the engine runs, observe how it behaves under normal working conditions. Pay attention to power delivery, smoothness, and responsiveness. If it feels sluggish or misfires, the valves might need a second look.
Keep an eye on oil leaks or smoke from the valve cover area. These signs often mean a sealing problem or an incorrect valve clearance. Have you noticed any changes in fuel efficiency or engine temperature? These can also signal valve adjustment issues.
Regular checks after reassembly help avoid costly repairs down the line. Your mower will thank you with consistent performance and longer engine life.
Credit: www.lawnsite.com
Maintenance Tips
Proper maintenance keeps mower engine valves working well. Regular care helps avoid costly repairs and extends engine life. Checking and adjusting valves prevents performance issues. Following simple steps protects your mower’s engine.
Regular Valve Checks
Check mower valves every 25 hours of use or as the manual says. Cold engine checks give accurate results. Remove valve cover and use a feeler gauge to measure the gap. Adjust if the gap is too wide or too tight. Clean dirt and debris before checking. Keep a log of valve checks and adjustments for reference.
Signs To Repeat Adjustment
Watch for engine problems that signal valve issues. Rough idling, poor power, and hard starting often mean valve adjustment is needed. Loud tapping noises from the engine can indicate loose valves. Excessive smoke or fuel smell also suggests valve problems. Repeat checks if mower has heavy use or after long storage. Adjust valves promptly to maintain smooth mower operation.

Credit: www.man.eu
Frequently Asked Questions
How Often Should Mower Engine Valves Be Adjusted?
Mower engine valves should be adjusted every 25 to 50 hours of use. Regular checks ensure optimal engine performance and prevent damage. Always refer to your mower’s manual for specific intervals.
What Tools Are Needed To Adjust Mower Engine Valves?
You need a feeler gauge, a wrench, and a screwdriver. These tools help measure and adjust valve clearance accurately. Using the right tools ensures proper adjustment and engine efficiency.
How Do I Know If Mower Valves Need Adjustment?
Signs include rough idling, hard starting, or reduced power. Unusual engine noises can also indicate valve issues. Regular inspections help catch problems early and maintain mower performance.
Can I Adjust Mower Valves Without Mechanical Experience?
Basic mechanical skills and patience are required. Following the mower manual step-by-step makes it manageable for most users. If unsure, seek professional help to avoid engine damage.
Conclusion
Adjusting mower engine valves keeps your machine running smooth. It helps the engine breathe and work better. Regular checks can save you costly repairs later. Small fixes now prevent big problems ahead. Take time, follow steps carefully, and use the right tools.
Your mower will cut grass clean and last longer. Keep your lawn looking great with simple maintenance. A little effort goes a long way.


