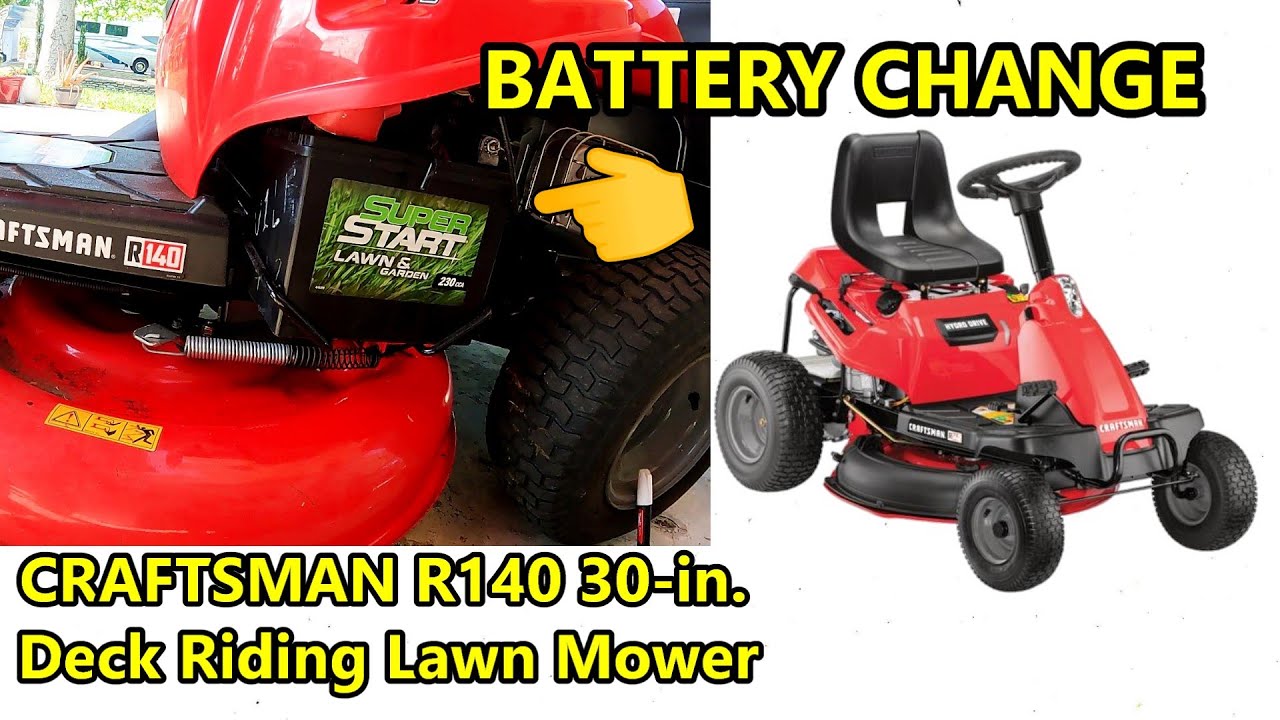
Is your riding mower battery dead or not holding a charge? You’re not alone.
A weak battery can stop your mower right when you need it most. But don’t worry—charging your riding mower battery is easier than you think. In this guide, you’ll learn simple, step-by-step tips to bring your battery back to life and keep your mower running smoothly all season long.
Ready to save time and avoid costly repairs? Keep reading to discover how to charge your riding mower battery the right way.
Credit: www.youtube.com
Choosing The Right Charger
Choosing the right charger is key to keeping your riding mower battery healthy. The charger must suit your battery type and size. Using the wrong charger can shorten battery life or cause damage. Understanding charger types and matching them to your battery ensures safe and efficient charging.
Types Of Chargers
There are several charger types designed for different batteries. Here are the common ones:
- Trickle Chargers:Deliver a low, steady current. Ideal for maintaining charge over time.
- Smart Chargers:Automatically adjust voltage and current. Prevents overcharging.
- Fast Chargers:Provide a quick charge but require careful use to avoid overheating.
- Manual Chargers:Require monitoring to stop charging at the right time.
Smart chargers are often the safest choice for riding mower batteries.
Matching Charger To Battery
Battery types vary by chemistry and voltage. Match the charger to these specs for best results.
- Check battery voltage, usually 12 volts for riding mowers.
- Identify battery type: lead-acid, AGM, or gel cell.
- Select a charger compatible with the battery chemistry.
- Ensure the charger’s output current matches battery capacity.
Using a charger not matched to the battery can cause poor charging or damage.
Preparing The Mower Battery
Preparing your riding mower battery before charging is key to ensuring a long-lasting and efficient power source. Taking the time to inspect and clean the battery can prevent future issues and save you from unexpected breakdowns. Let’s walk through the essential steps that get your battery ready for a proper charge.
Safety Precautions
Handling a mower battery requires careful attention to safety. Always wear protective gloves and safety glasses to shield yourself from battery acid and sparks. Make sure you work in a well-ventilated area to avoid inhaling any harmful gases.
Before touching the battery, turn off the mower and remove the key to prevent accidental starts. Avoid smoking or open flames nearby, as batteries can emit flammable hydrogen gas during charging.
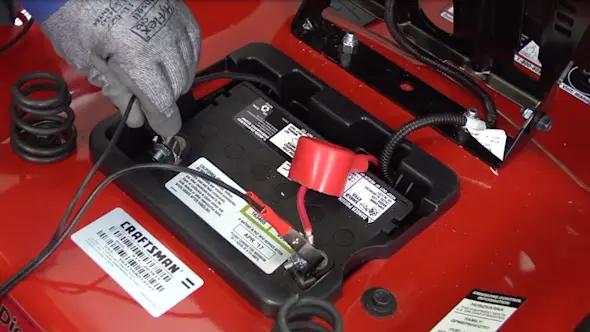
Removing The Battery
Disconnect the battery carefully to avoid damaging the terminals or cables. Start by loosening the negative (-) terminal first, then the positive (+) terminal. This order reduces the risk of short circuits.
Once disconnected, lift the battery straight up to avoid tipping any acid inside. If the battery is heavy or stuck, use a battery carrier or ask for help to avoid injury.
Cleaning Battery Terminals
Dirty terminals can block the flow of electricity and make charging less effective. Use a mixture of baking soda and water to neutralize any corrosion on the terminals.
- Apply the solution with an old toothbrush or small brush.
- Scrub gently until corrosion disappears.
- Rinse with clean water and dry with a cloth.
For stubborn corrosion, a terminal cleaner or a wire brush works well. After cleaning, apply a thin coat of petroleum jelly or terminal protector spray to prevent future buildup.
Charging The Battery
Charging your riding mower battery is a crucial maintenance task that ensures your machine is always ready for action. A properly charged battery not only extends its lifespan but also prevents unexpected breakdowns in the middle of your mowing chores. Let’s dive into the essential steps to charge your riding mower battery efficiently and safely.
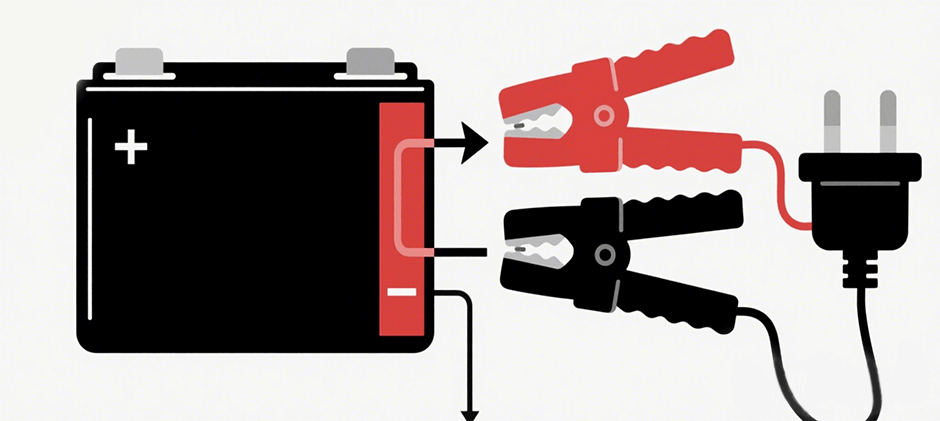
Connecting The Charger
First, ensure your charger is compatible with your mower’s battery type. Disconnect the battery from the mower, starting with the negative terminal to prevent any electrical shorts. Attach the charger’s positive lead to the battery’s positive terminal, and then connect the negative lead.
It’s important to ensure all connections are secure. Loose connections can lead to inefficient charging or even damage. If you’re unsure, consult your mower’s manual for specific instructions.
Setting Charging Parameters
Once connected, adjust the charger settings to match the battery’s specifications. Most riding mower batteries require a 12-volt setting. Check the amperage as well; typically, a slow charge at 2-10 amps is ideal.
Using the correct settings prevents overcharging, which can significantly reduce battery life. If your charger has an automatic mode, this can be a hassle-free option.
Monitoring The Charging Process
Keep an eye on the charging process. Most modern chargers have indicators showing when the battery is fully charged. This is crucial because overcharging can cause the battery to overheat or even leak.
Regularly check the battery’s temperature; it should remain cool to the touch. If it gets hot, immediately stop the charging process. Have you ever wondered why some batteries last longer than others? Proper charging is often the answer.
Charging your riding mower battery doesn’t have to be a daunting task. By following these steps, you can ensure your mower is always ready to tackle your lawn with ease. Have you checked your battery’s health lately?
Credit: www.fridayparts.com
Post-charging Steps
After charging your riding mower battery, some important steps follow to ensure safety and proper function. These post-charging actions help maintain battery life and prepare your mower for use. Handle the battery and charger carefully to avoid damage or injury.
Disconnecting The Charger
First, unplug the charger from the power source. Always remove the charger from the outlet before disconnecting it from the battery. This practice prevents sparks or electrical shocks. Next, detach the charger clamps from the battery terminals. Remove the negative (black) clamp before the positive (red) one. Keep the clamps away from metal objects to avoid short circuits.
Reinstalling The Battery
Place the battery back into its compartment on the mower. Align the battery terminals with the mower’s connectors. Secure the battery firmly using any clamps or straps provided. Connect the positive (red) cable first, followed by the negative (black) cable. Tighten the connections to prevent loose contacts during operation.
Testing Battery Performance
Turn on the mower to check if the battery powers it properly. Listen for normal engine sounds and smooth starting. Watch for warning lights or error codes on the dashboard. If the mower struggles to start, the battery might need more charging. Use a voltmeter to measure battery voltage for accuracy. A healthy battery should read around 12.6 volts or higher when fully charged.
Maintaining Battery Health
Keeping your riding mower battery in good shape saves you time and money. A well-maintained battery ensures your mower starts smoothly every time you need it. Let’s look at some practical ways to maintain your battery’s health so it lasts longer and performs better.
Regular Charging Tips
Don’t wait until your battery is completely dead to charge it. Regular charging keeps the battery’s cells active and prevents sulfation, which can reduce battery life. Aim to charge the battery after every 20 to 30 hours of use or at least once a month during the off-season.
Use a charger designed for riding mower batteries. These chargers provide a steady, slow charge that’s safer and more effective. Avoid fast chargers unless they have a specific mode for lead-acid or AGM batteries.
Storage Guidelines
If you store your mower for a long time, remove the battery and keep it in a cool, dry place. Extreme heat or cold can damage the battery’s internal components. Make sure the battery is fully charged before storage to prevent it from draining completely.
Check the battery’s charge every few weeks during storage and recharge if necessary. A simple trick is to use a battery maintainer or trickle charger to keep it at optimal charge without overcharging. This helps you avoid surprises when you take your mower out again.
Signs Of Battery Wear
How do you know if your battery is on its last legs? Watch for these signs:
- Difficulty starting the mower or slow cranking
- Corrosion or buildup around the battery terminals
- Swollen or cracked battery casing
- Battery losing charge quickly after a full charge
If you notice any of these, test the battery with a multimeter or have it checked at a service center. Catching battery wear early lets you replace it before you’re stuck with a mower that won’t start.

Credit: www.tycorunenergy.com
Frequently Asked Questions
How Long Does It Take To Charge A Riding Mower Battery?
Charging a riding mower battery usually takes 4 to 6 hours. Use a compatible charger and follow manufacturer instructions. Avoid overcharging to prevent battery damage and ensure optimal performance.
Can I Charge A Riding Mower Battery Without Removing It?
Yes, you can charge the battery without removing it if the charger allows. Ensure the mower is off and connections are secure for safe charging.
What Type Of Charger Is Best For Riding Mower Batteries?
A smart charger designed for 12-volt lead-acid batteries is ideal. It prevents overcharging, extends battery life, and provides efficient, safe charging.
How Often Should I Charge My Riding Mower Battery?
Charge your battery after every 20 to 30 hours of use or monthly if unused. Regular charging maintains battery health and ensures reliable starts.
Conclusion
Charging your riding mower battery keeps it healthy and ready to go. Always use the right charger and follow safety steps. Check the battery regularly for any signs of damage. Clean the terminals to avoid poor connections. Taking good care helps your mower start easily every time.
Keep these tips in mind to save time and avoid troubles. A well-charged battery makes mowing smoother and more efficient. Simple steps can make a big difference in battery life.


